
Client List
This guide covers the clients list: searching for a client, showing everyone's clients or only yours, filtering by adviser and anniversary, sorting by column, and scheduling the next meeting from the list.
Overview
The Clients page lists every client you can access, with columns for the assigned adviser, anniversary, the last meeting, the next meeting, and counts of meetings, file notes and documents. Sorting turns the list into a simple review tool. As a result, you can see at a glance which clients you have not met for the longest time, who has an anniversary coming up, and who has nothing booked in.
For adding clients, importing a CSV list and working inside a client page, see Manage Clients.
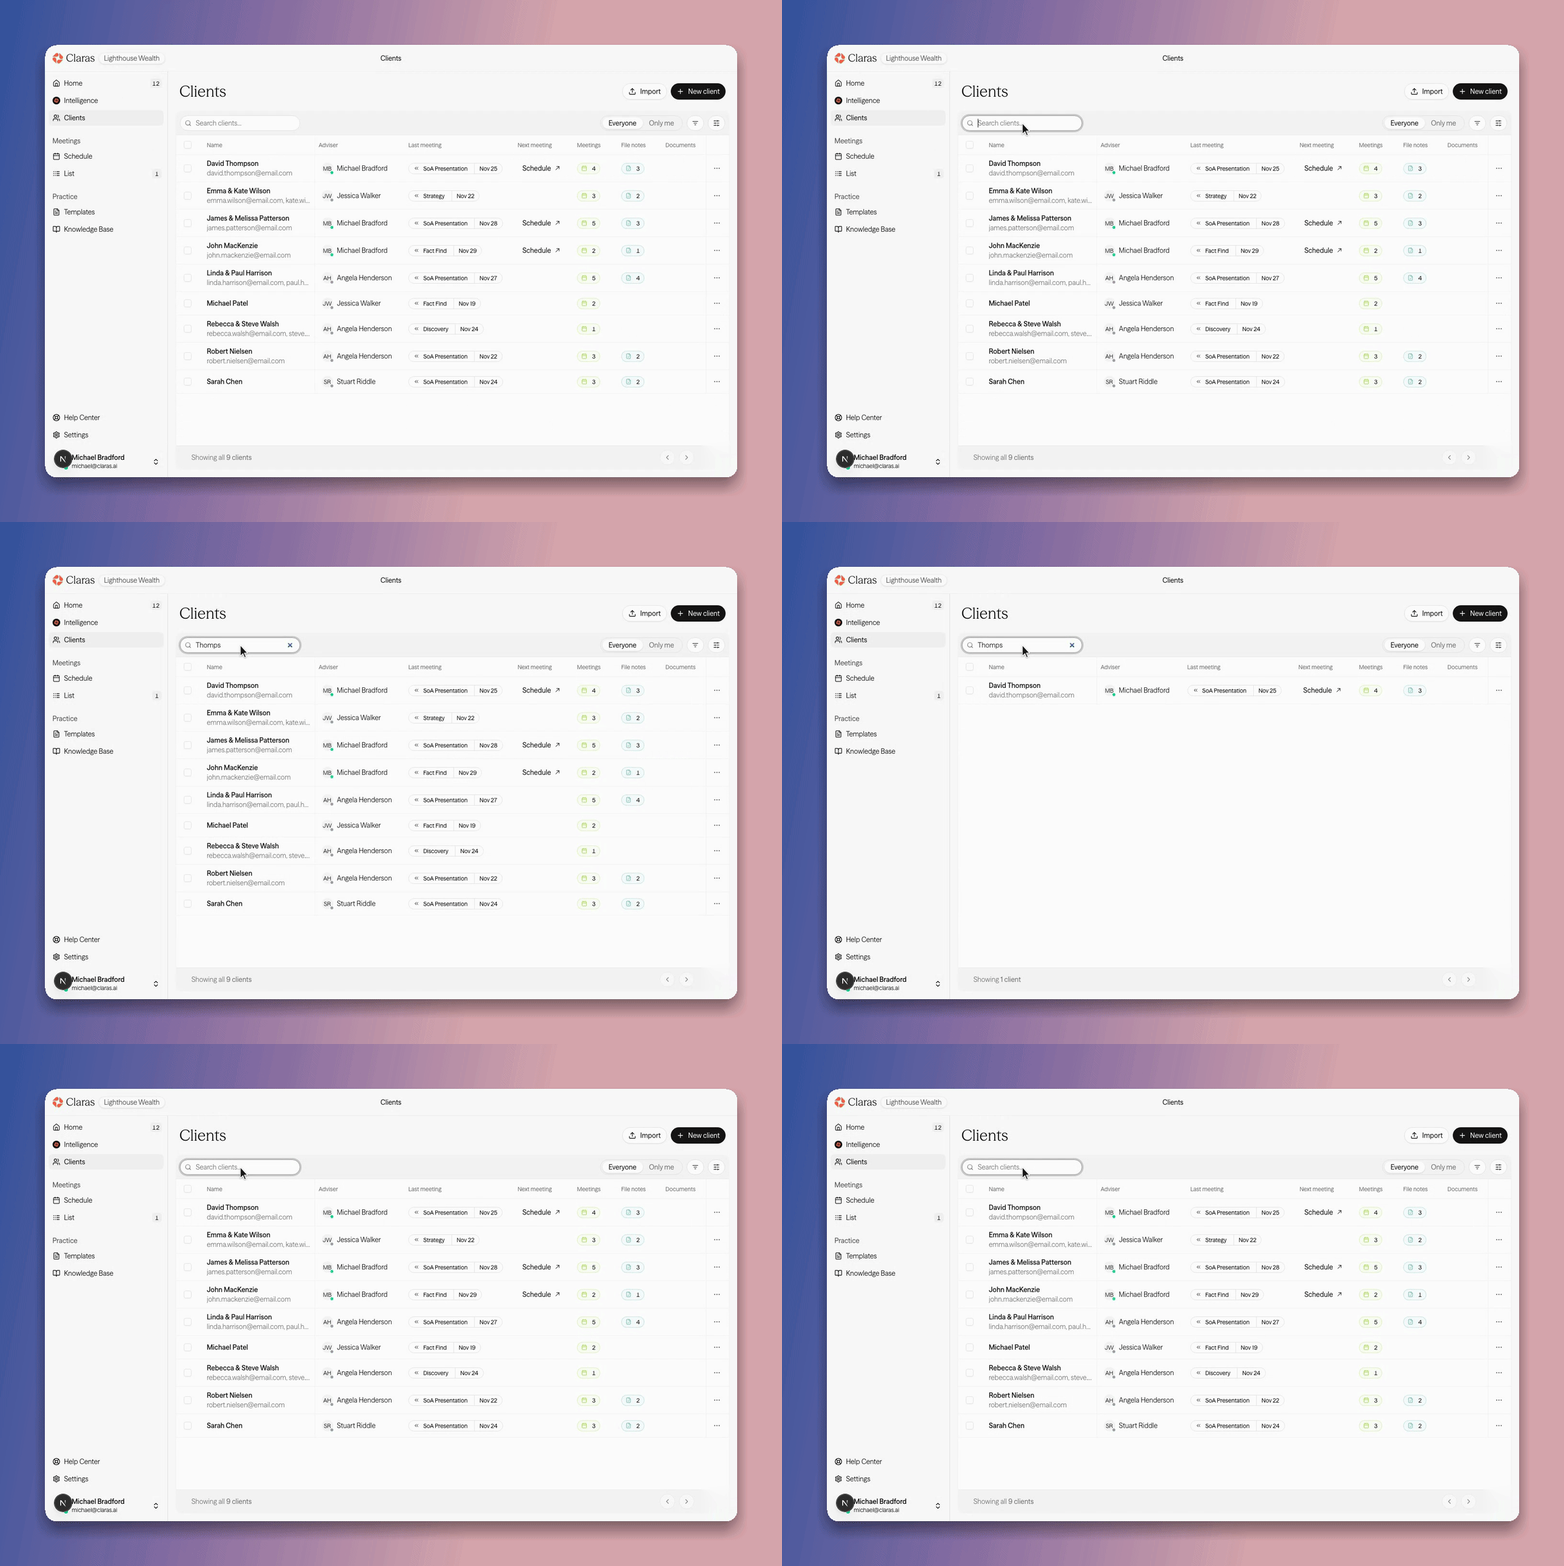
Search for a client
The search box sits at the top left of the list. Start typing and the list narrows as you go, matching on the client's name and email address. It looks across every client you can access, so you do not need to change pages to find someone. Clear the box to bring the full list back.
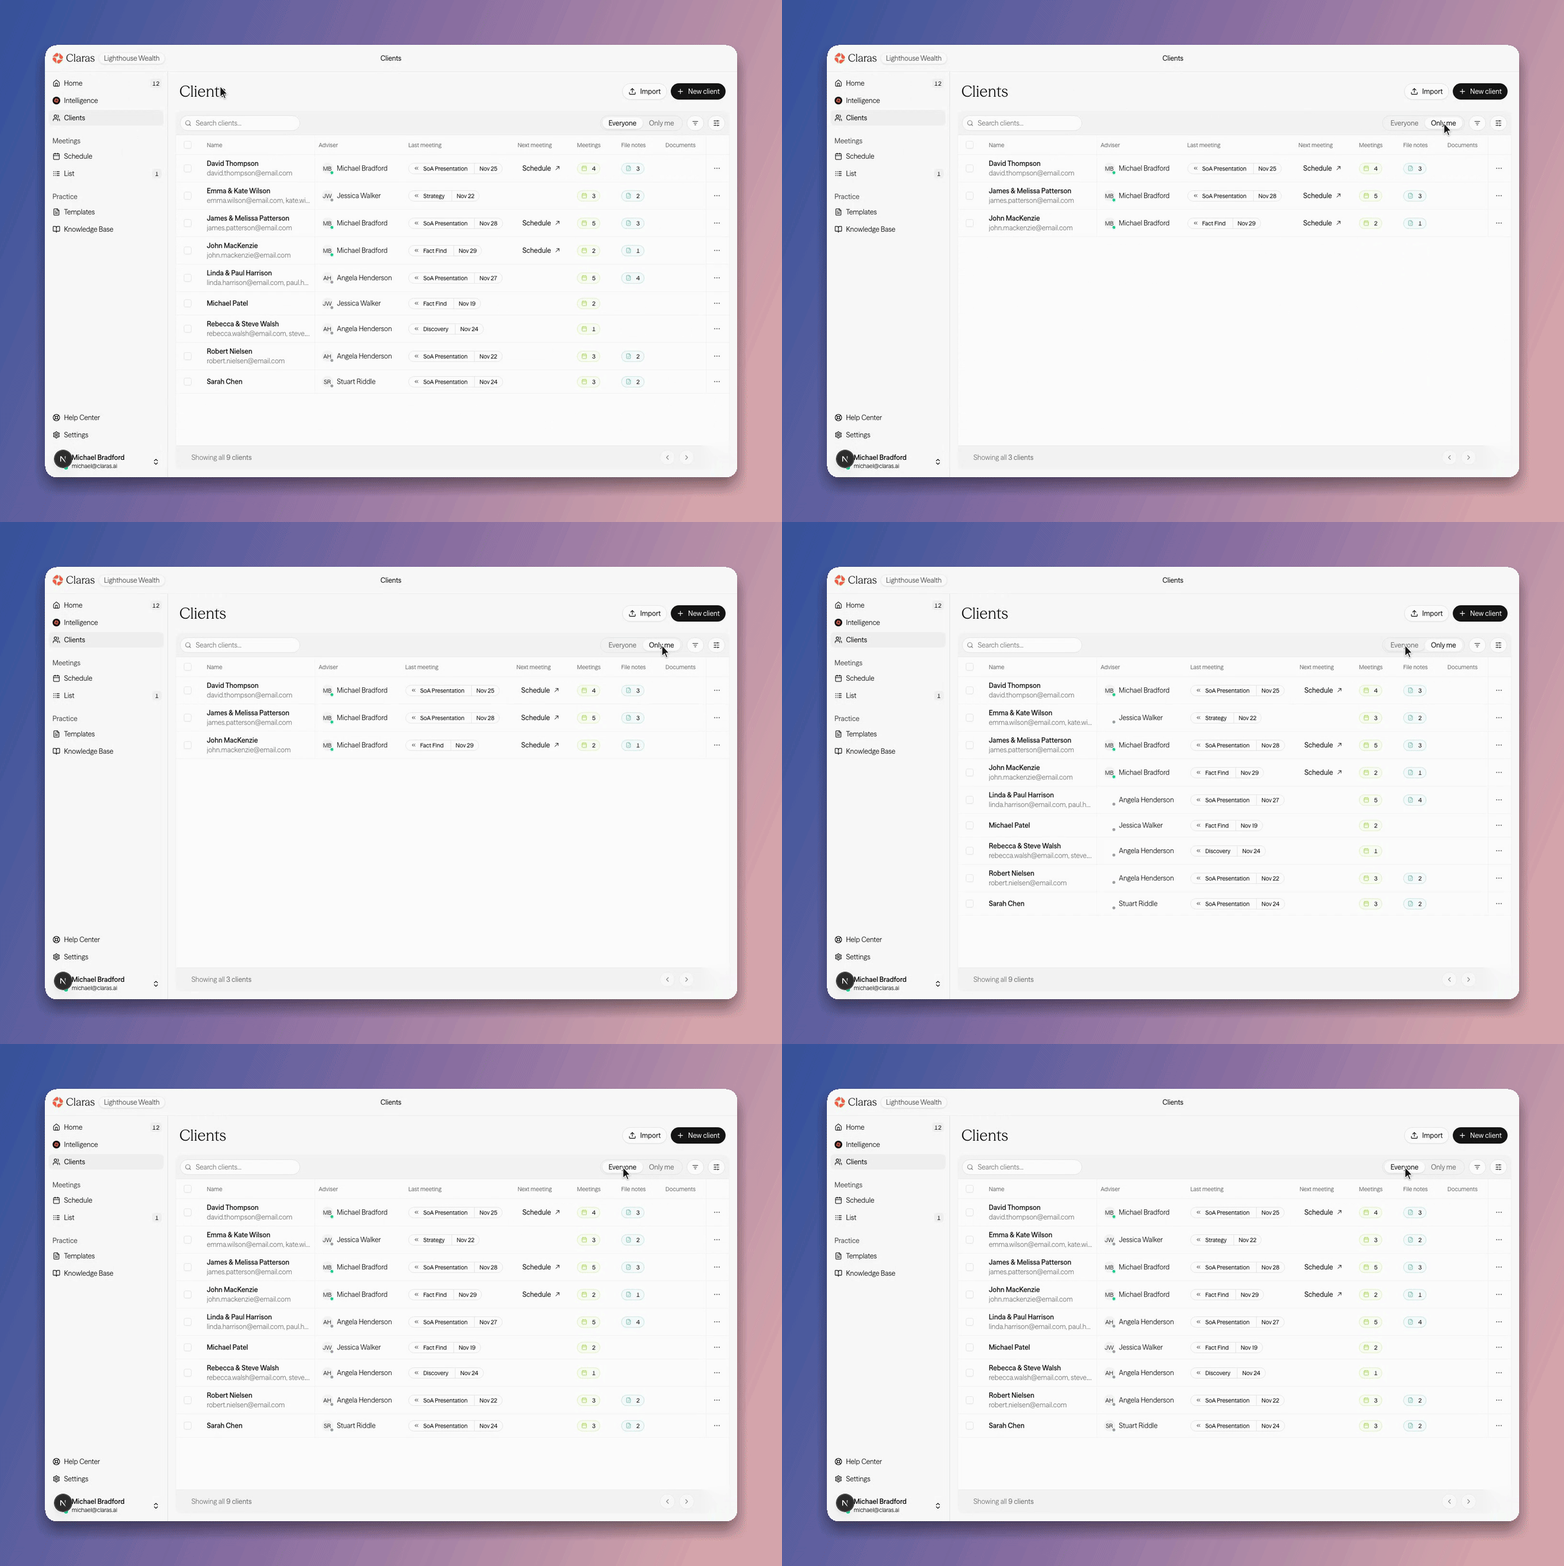
Show everyone or only your clients
The "Everyone" and "Only me" tabs, next to the search box, control whose clients you see. "Everyone" shows every client across your practice that you can access. "Only me" narrows the list to the clients you are the assigned adviser for. The list remembers your choice, so it opens the same way next time.
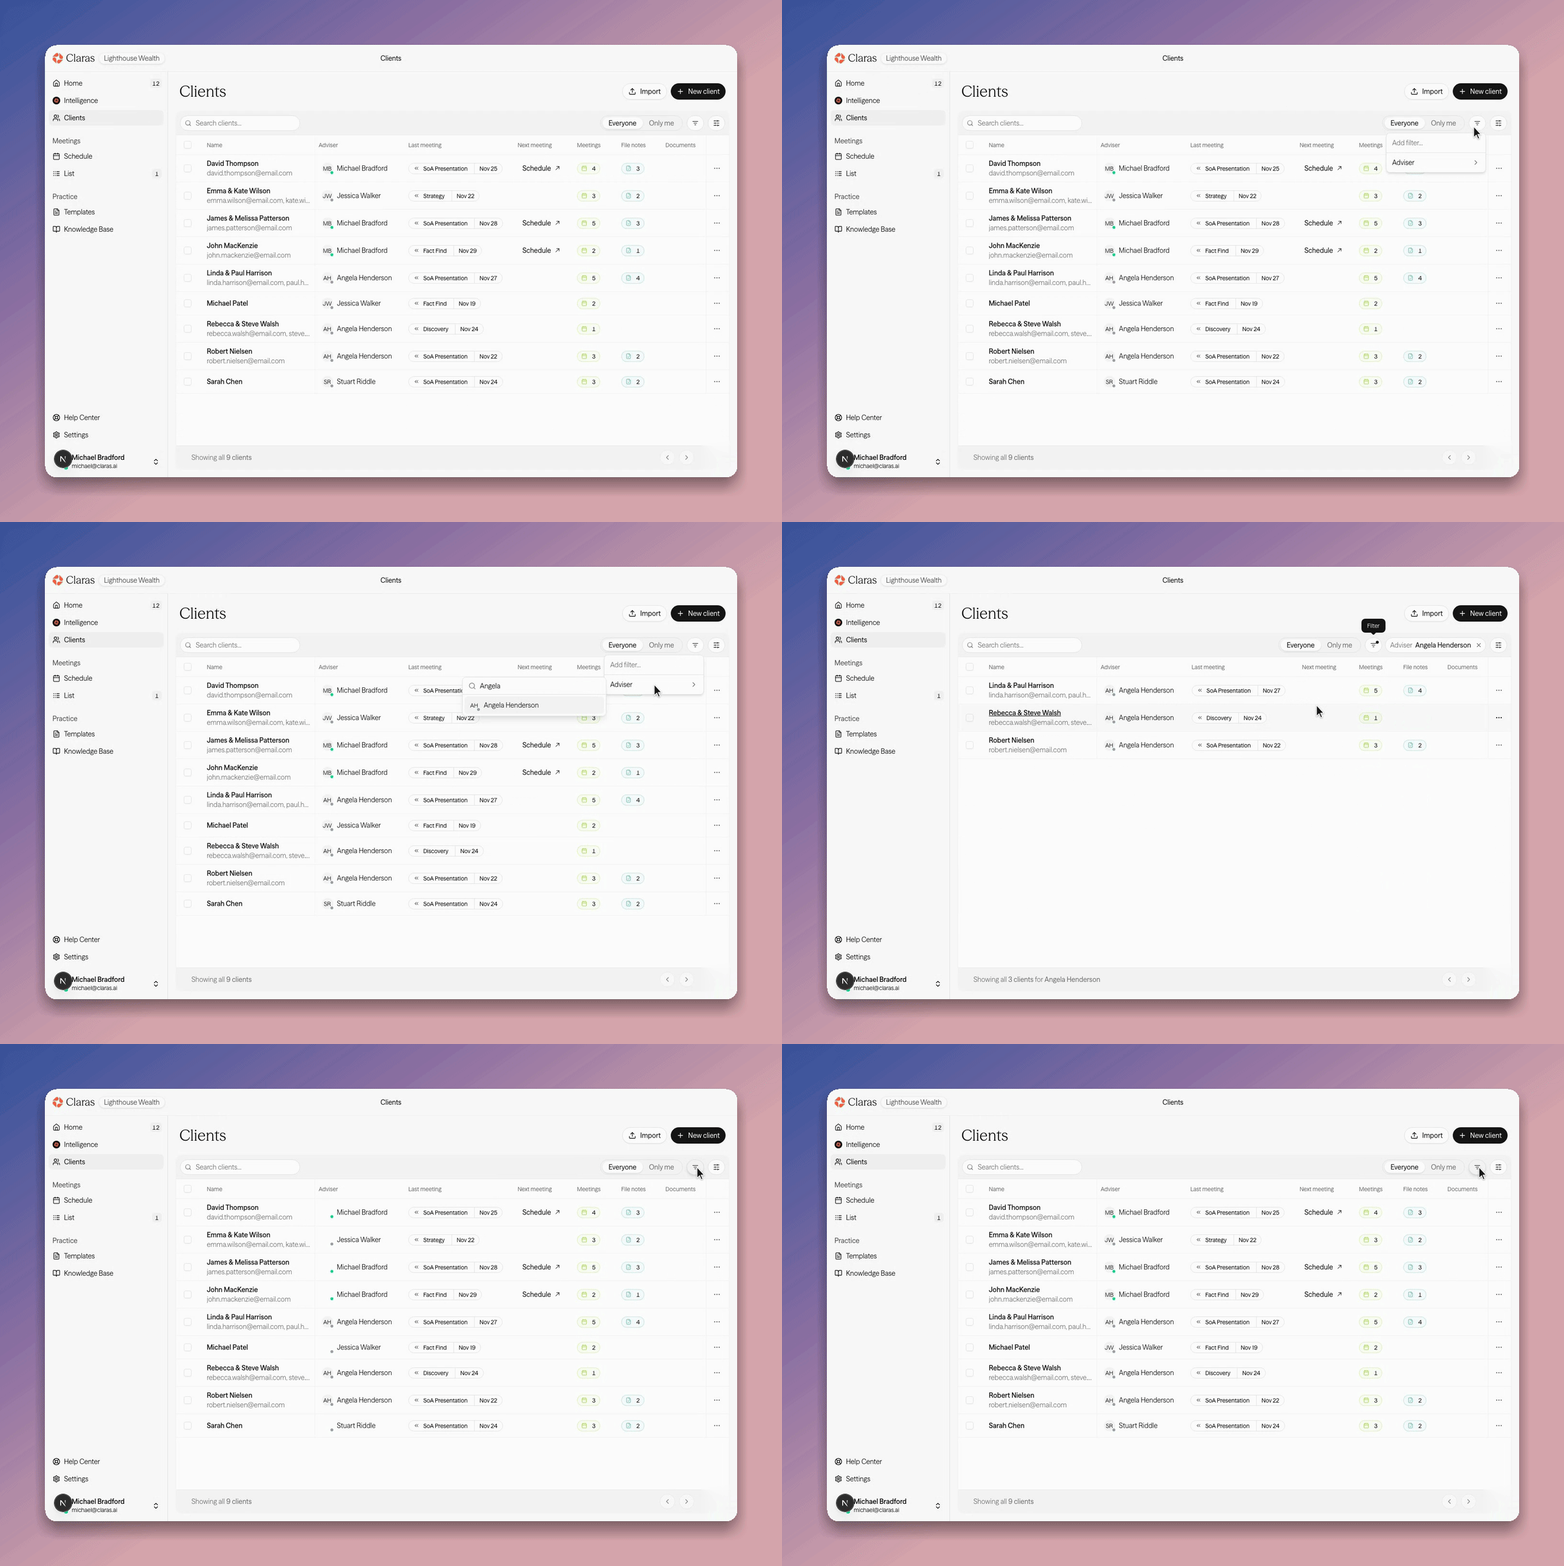
Filter by adviser
The filter button, the funnel icon next to the tabs, narrows the list by adviser. Click it, then pick the adviser from the list. The list updates to match and the active filter shows as a chip. Remove the chip to clear the filter. Search, the tabs and filters all work together, so you can show everyone's clients for a single adviser.
Filter by anniversary
The same filter menu includes anniversary presets so you can focus on clients whose next anniversary falls soon. Open the funnel icon, choose Anniversary, then pick "Next 7 days", "Next 30 days", "This month", or "Next month", or set a custom date range. The active filter shows as a chip you can clear.
Anniversary here is the date you store on the client for ongoing fee and review planning. Clients without an anniversary are left out when an anniversary filter is active. Set or clear the date on the client page or in the Anniversary column when it is visible.
Sort by column headers
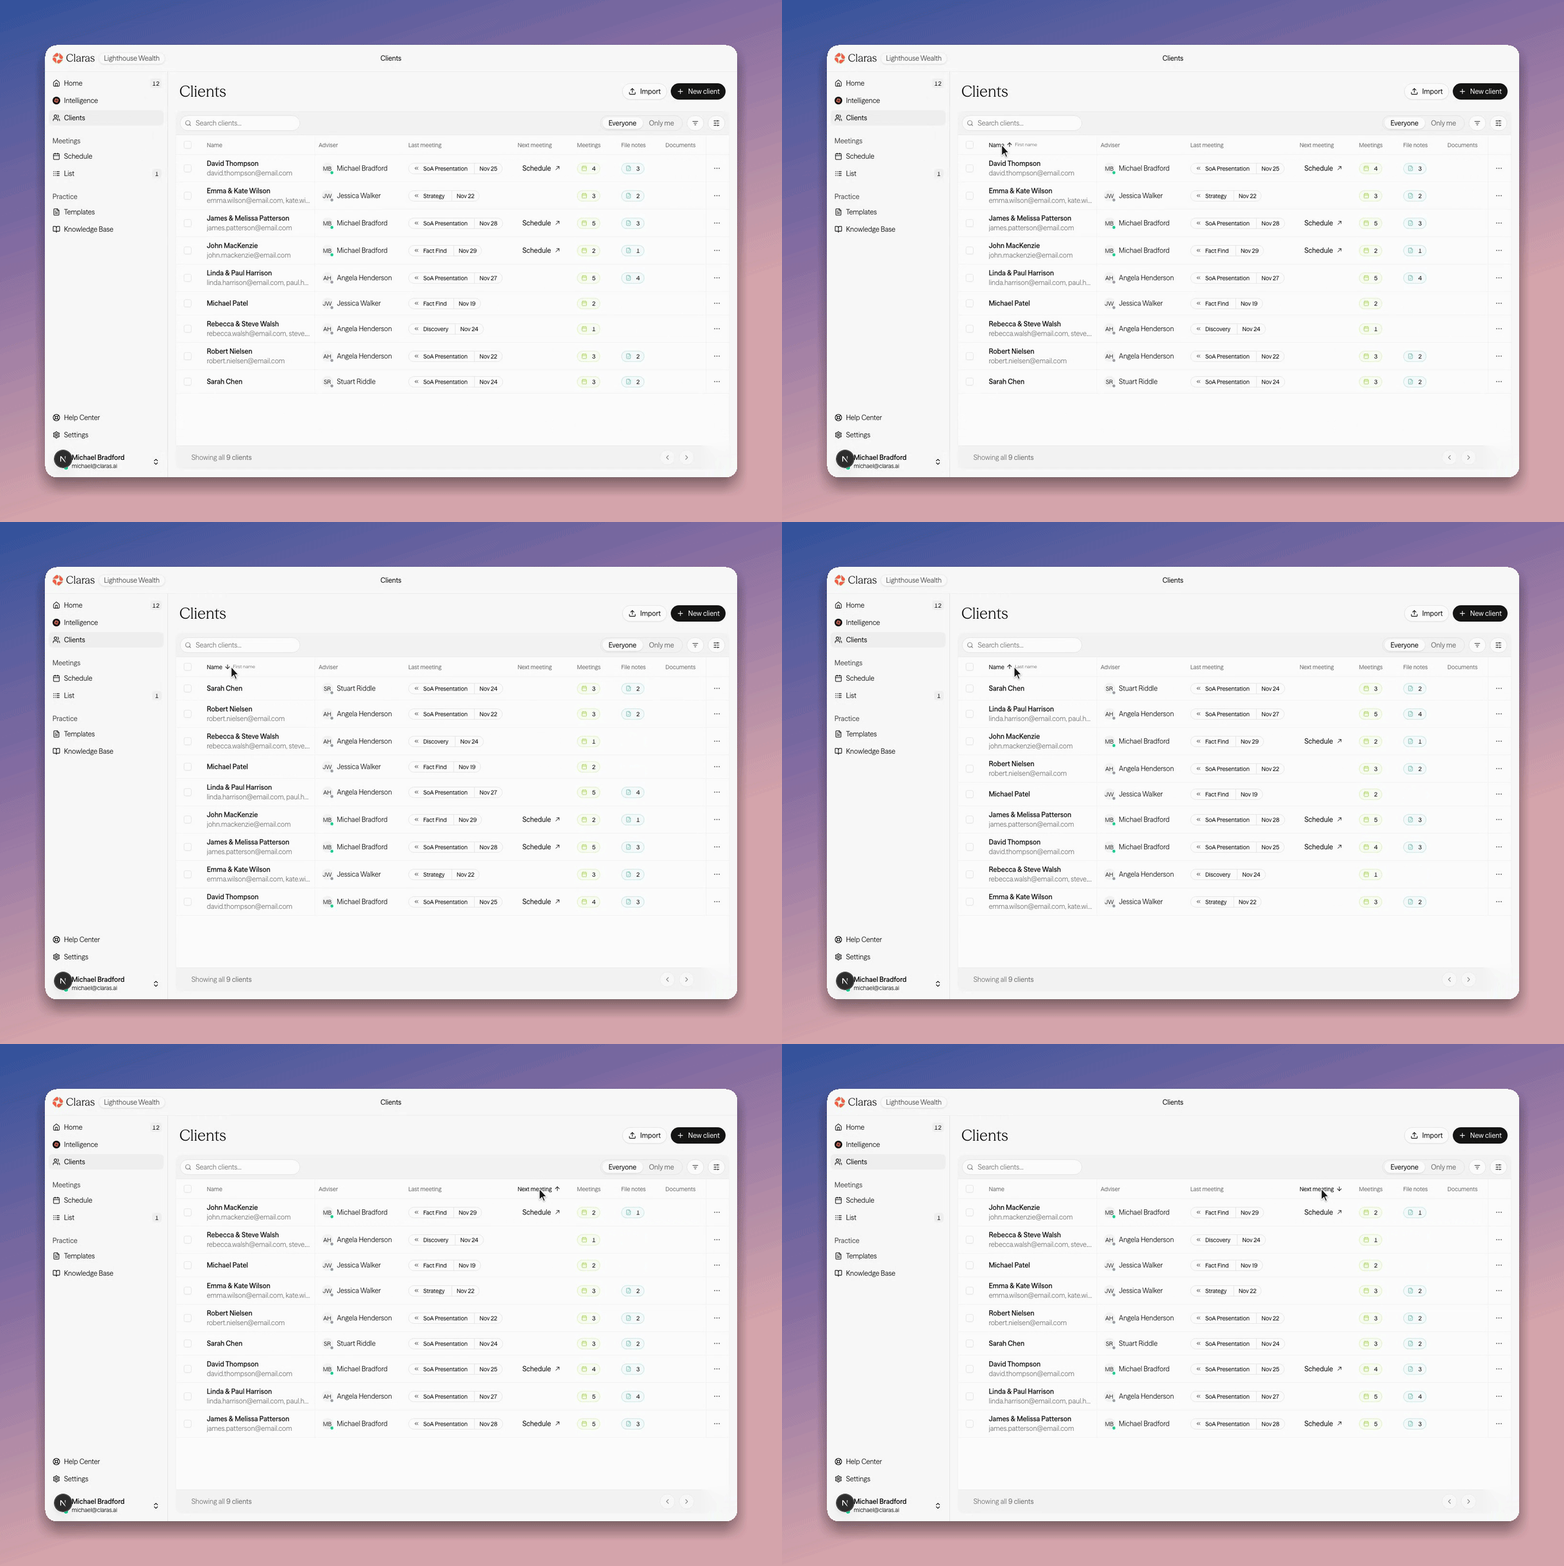
Click a column header to sort the list by that column. An arrow on the header shows the active sort. Clicking the same header again reverses the direction.
You can sort by "Name", "Adviser", "Anniversary", "Last meeting" and "Next meeting". "Last meeting" starts with the most recent meetings first, and the other columns start in ascending order. "Anniversary" sorts by the next occurrence of each client's anniversary date.
The "Name" header cycles through four sorts rather than two, so you can order by either first or last name. Clicking it moves from first name A to Z, to first name Z to A, to last name A to Z, to last name Z to A, and then back off. A muted "First name" or "Last name" badge on the header shows which of the four is active.
For example, to find clients due for a review, click "Last meeting" twice so the oldest meetings come first. The clients at the top of the list have gone the longest without one.
Schedule the next meeting from the list
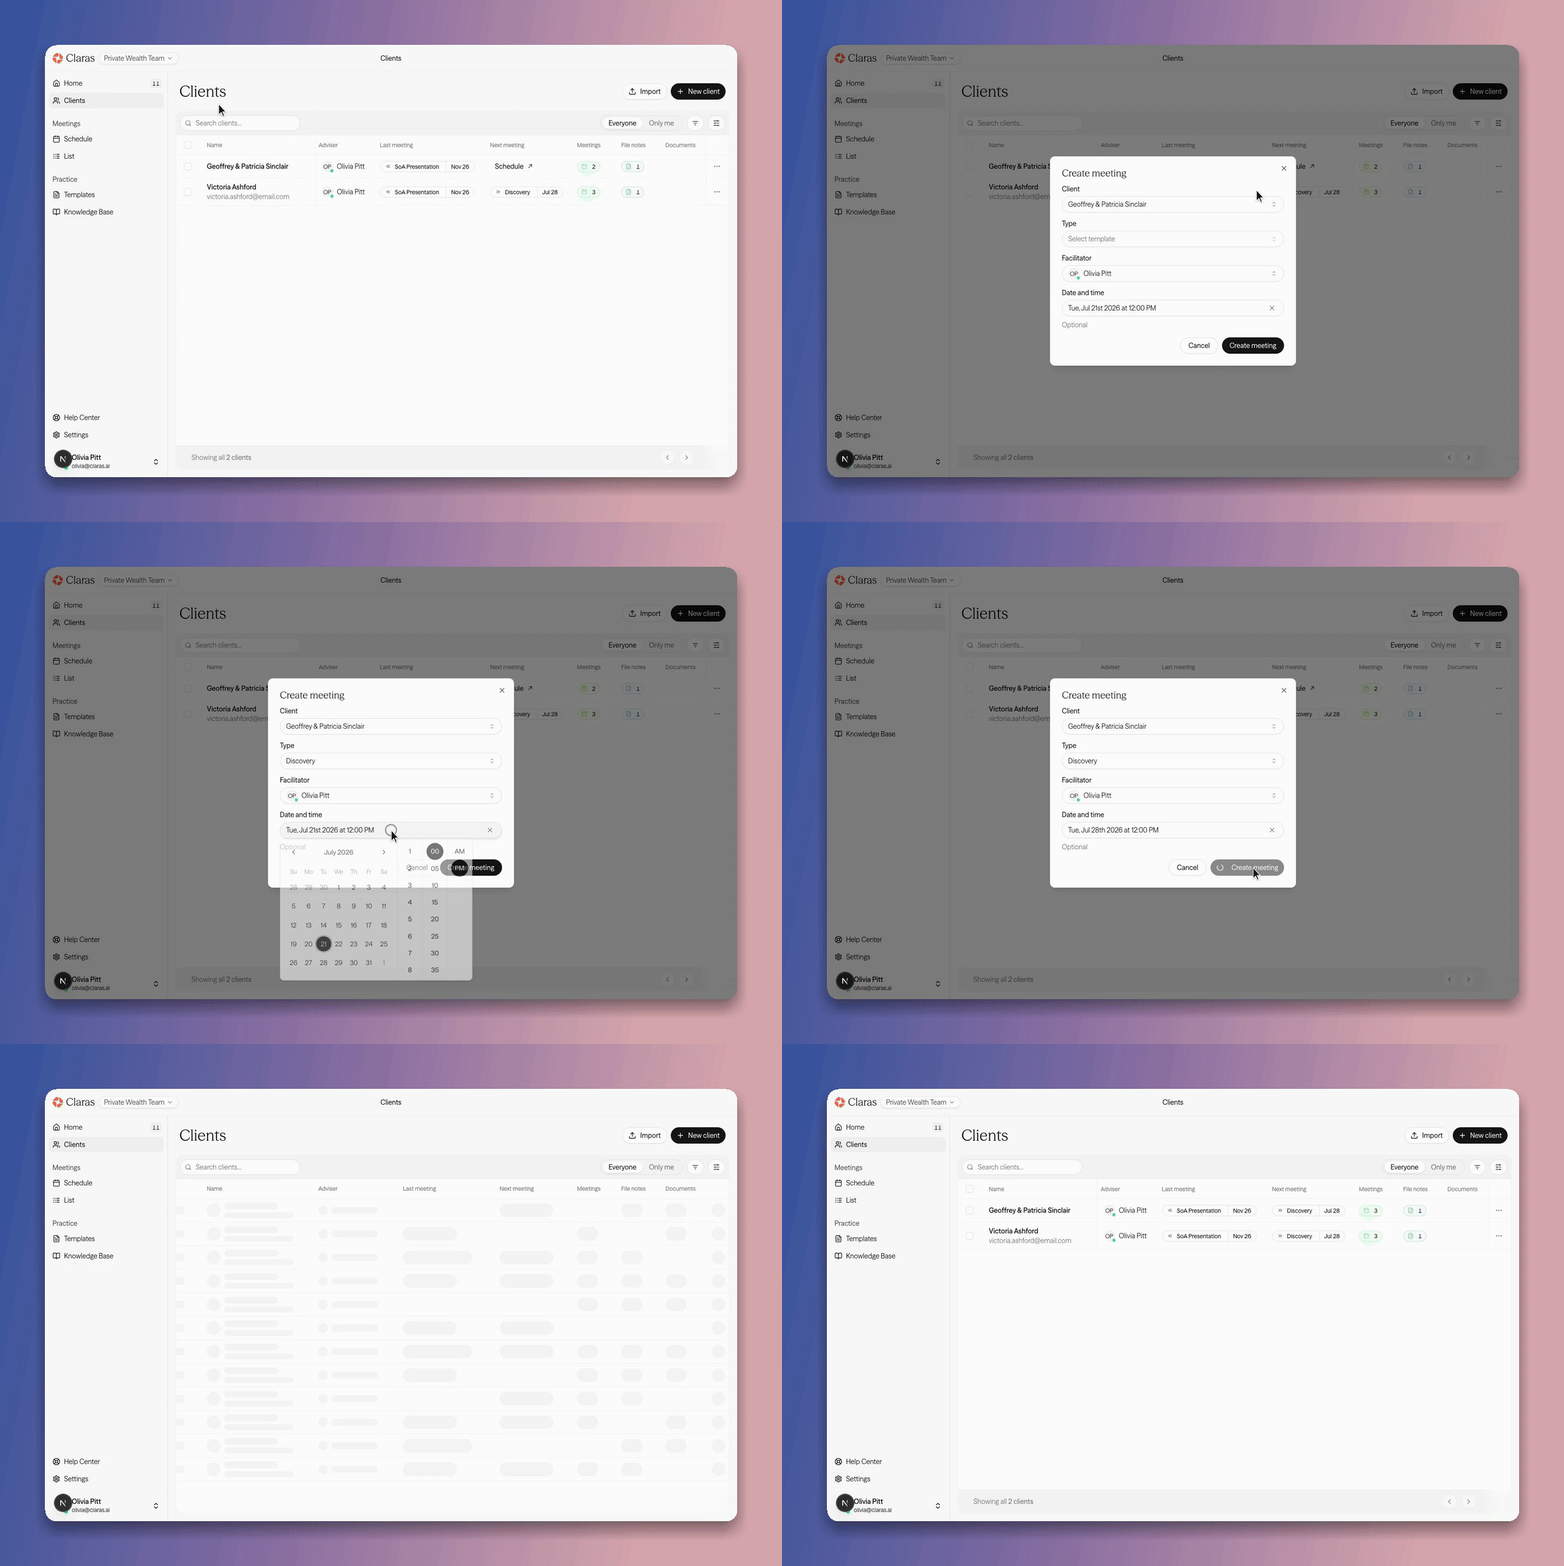
The "Next meeting" column shows each client's upcoming meeting as a small badge with the meeting type and date. Clicking the badge opens that meeting. When a client has nothing booked, the cell shows a Schedule button instead.
The Schedule button is shown to the client's assigned adviser and to assistants. Other team members see an empty cell.
Click Schedule to open the meeting form with the client already selected. Choose the date and the meeting details, then click Create meeting. The new meeting appears in the "Next meeting" column, and on the Meetings page like any other meeting.
This works well together with sorting. Sort by "Next meeting" and the clients with nothing booked group together, so you can move down the list and schedule them one after another.
If the "Anniversary", "Next meeting" or "Last meeting" columns are not visible, click the sliders icon above the list to choose which columns show.
Last updated 23rd July 2026 by Connor