Record a Client Meeting
Claras records your client meetings, whether in-person, virtual, or over the phone, and turn them into accurate file notes and client emails. This page explains the different ways you can capture a meeting and the steps to process it in Claras.
This page covers:
Scheduling a client meeting
Recording your meeting
Creating the file note
Schedule a meeting
Use the Schedule page to see upcoming meetings, and review past ones. Scheduling is best for client reviews, strategy sessions, or any meeting you want to plan ahead for.
To schedule a meeting:
Go to Meetings → Schedule and click New Meeting.
Click New Client to create a new client, or select a client if they're already in Claras.
Choose the template that best fits the meeting type.
Select the facilitator.
Confirm the date and time.
Click Create Meeting.
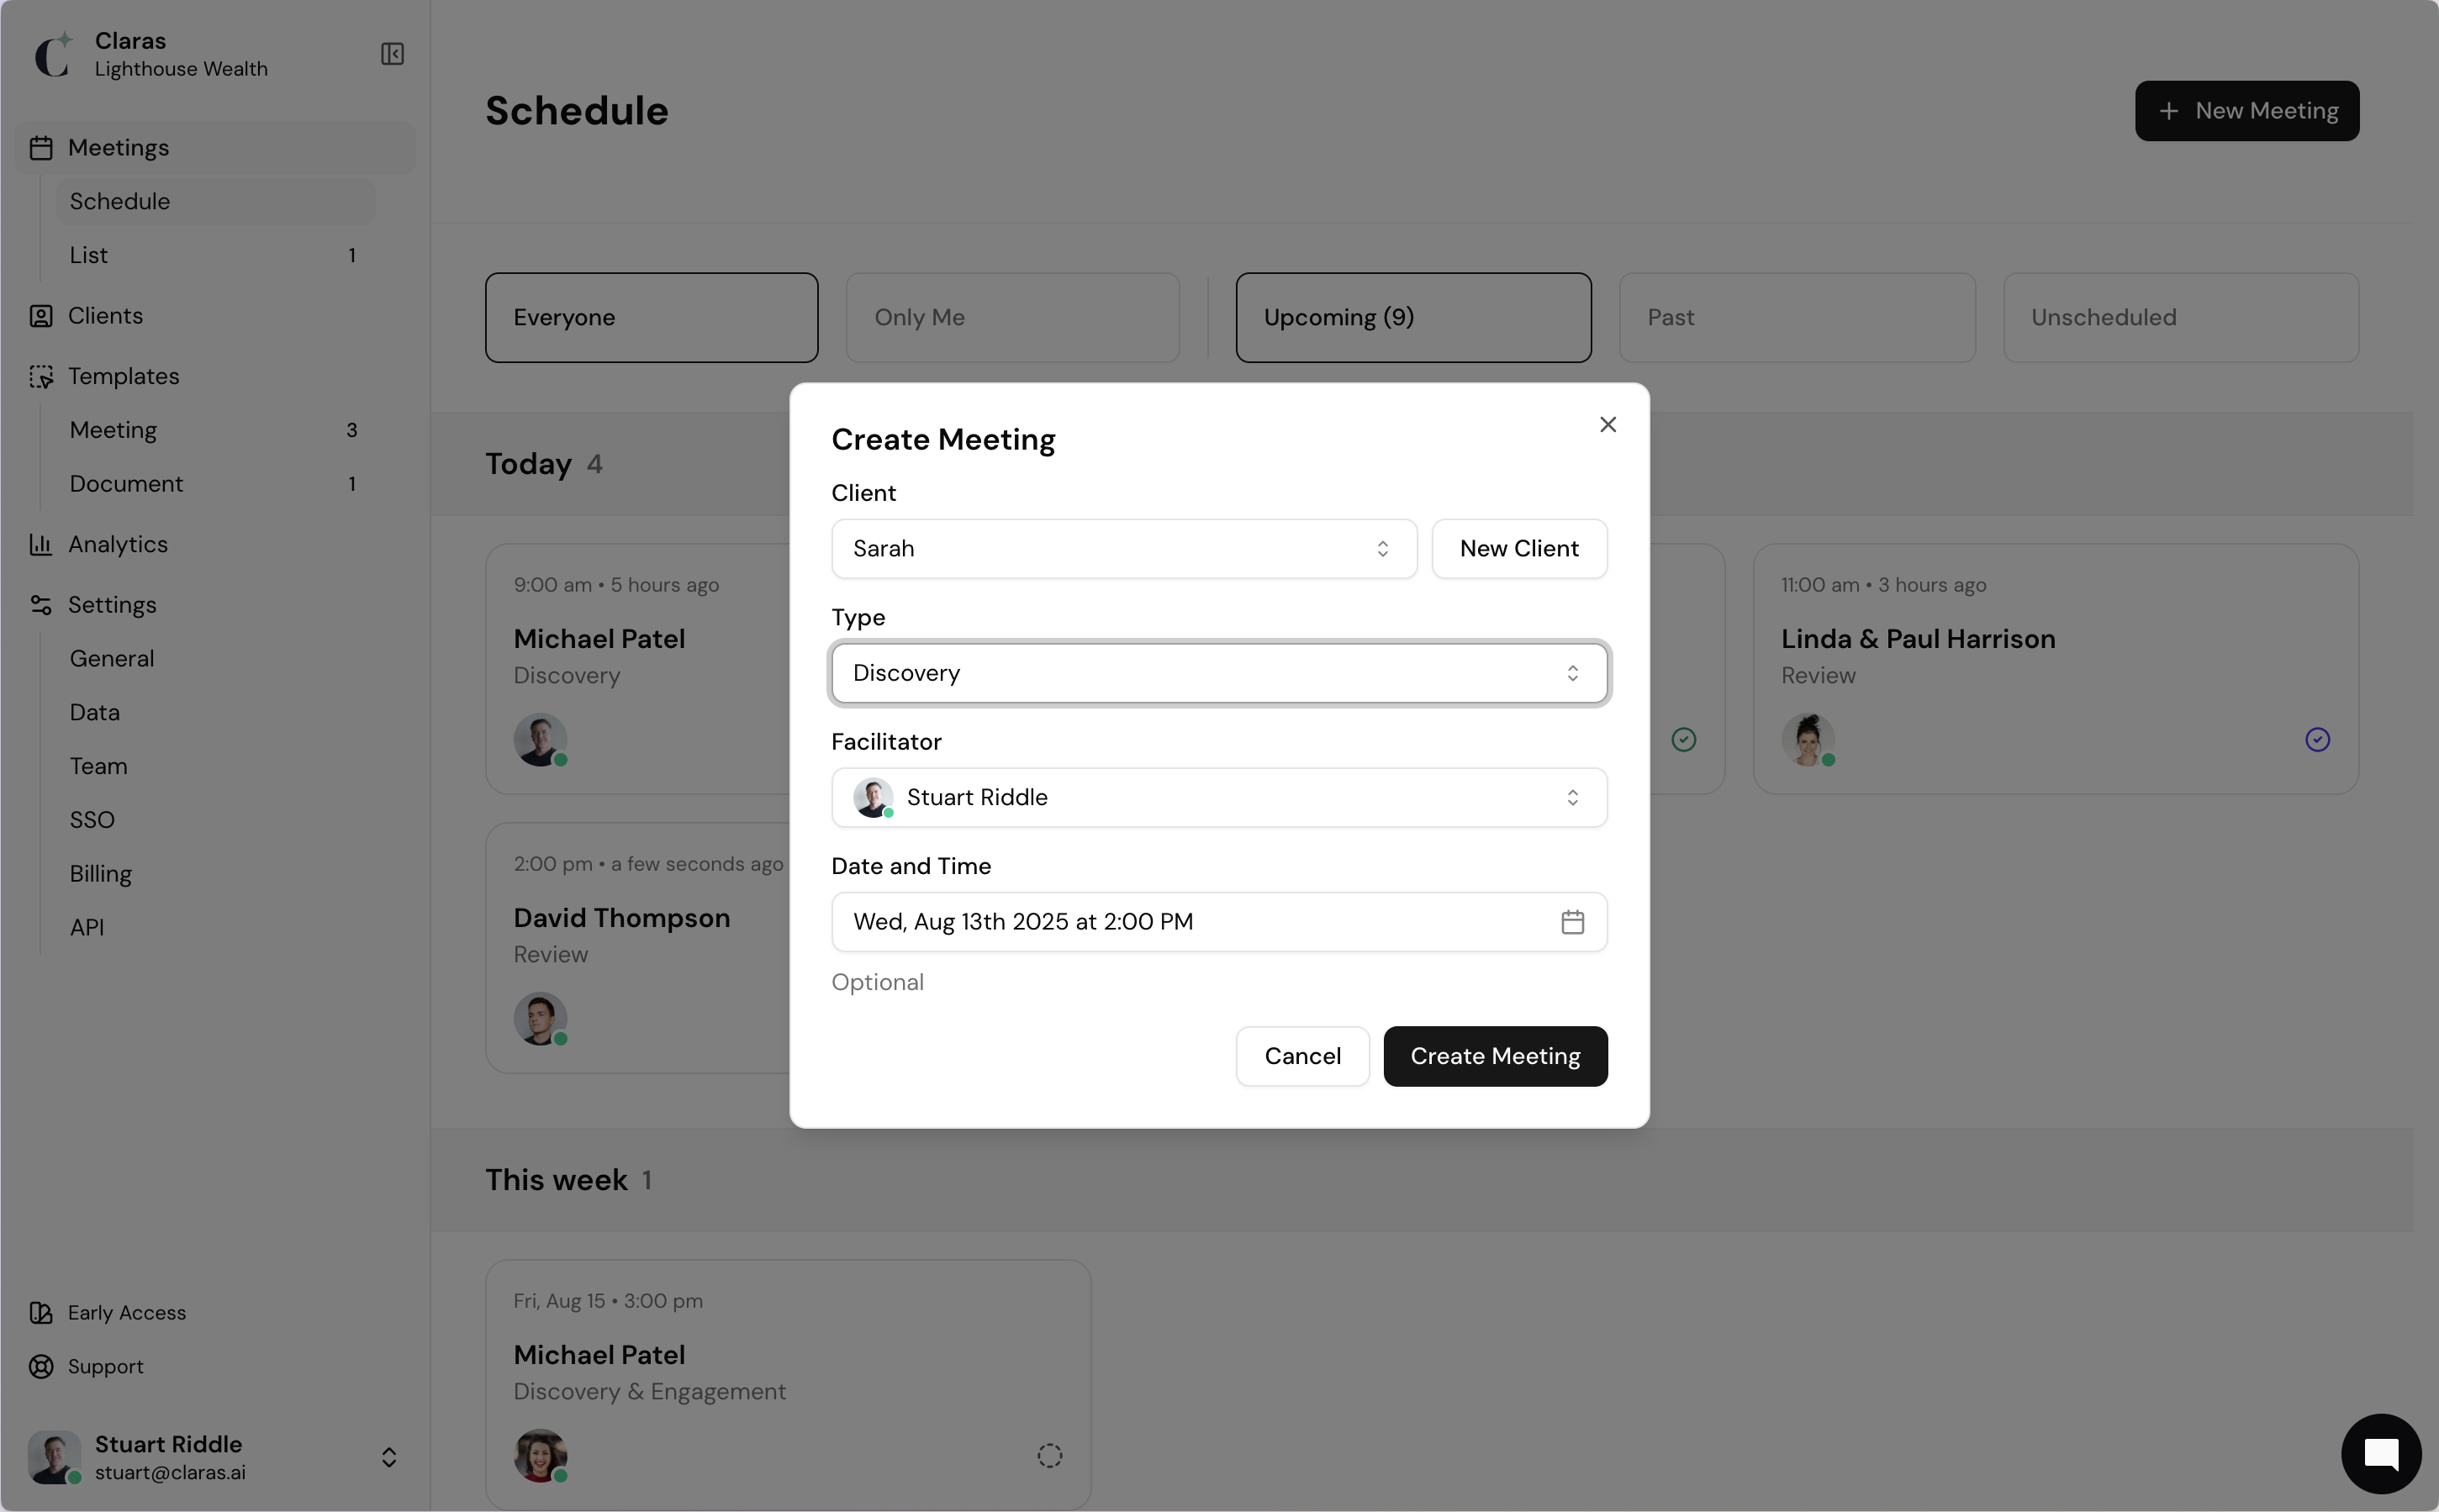
Meeting templates define the agenda, file note, and client email structure. To customise them, go to Templates → Meetings.
The date and time you select when scheduling the meeting is what appears on the file note. Meetings created from the client profile default to the current date and time. When you upload a recording, Claras reads the file's embedded metadata and automatically updates the meeting date if the recording was made at a different time. A toast notification confirms the change with a Revert button if you need to undo it.
Record your Meeting
The meeting page combines client context with recording tools. Keep this page open during meetings, either on your laptop for in-person sessions or second monitor for virtual meetings.
Recording controls at the top.
Clarity+ summary of client details on the left (This will be blank if it's a new client).
Meeting agenda on the right.
Notes field under the agenda, for additional context.
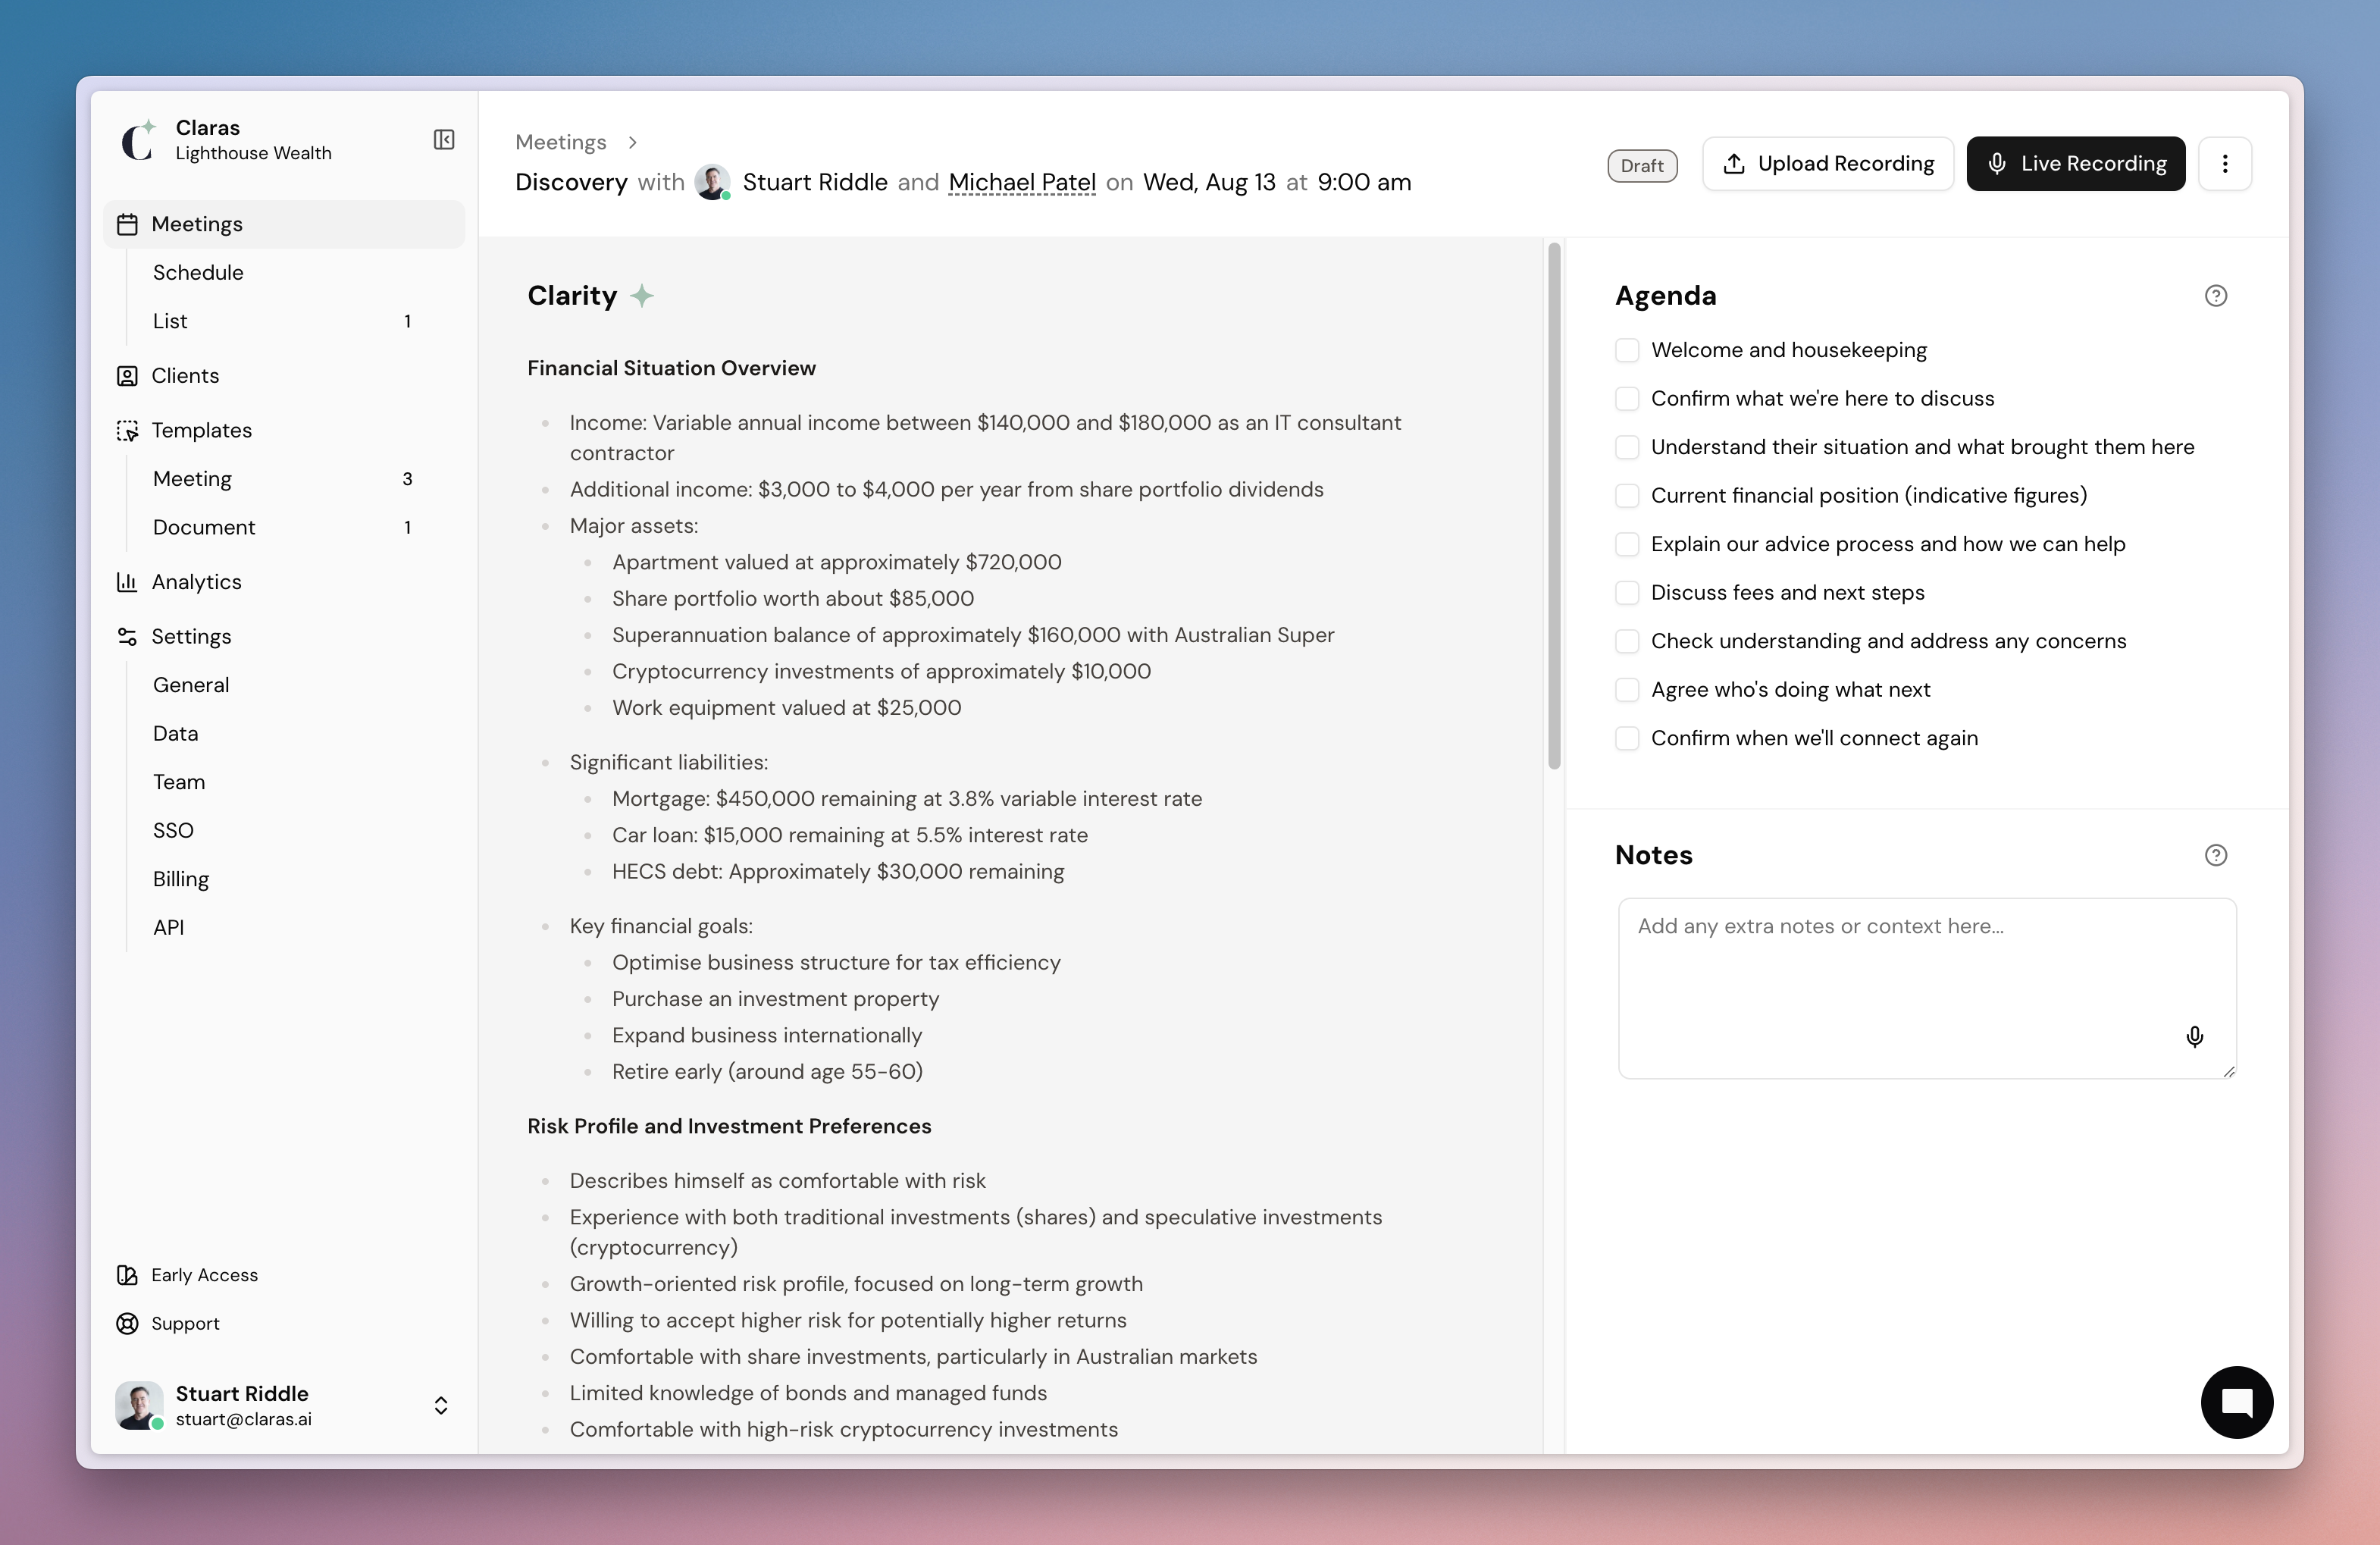
Claras references the Notes field when generating your file note, so any information you add here shapes the output. This is useful for providing context that won't be part of the recorded conversation, such as key details from a Statement of Advice you're presenting or background information about the client's situation. For information you want Claras to reference beyond a single meeting, upload the document to the client profile instead. Attachments update Clarity+ immediately, so uploading a document like a Statement of Advice before the presentation meeting ensures the file note reflects the full advice details. Clarity+ retains the information for all future outputs as well.
Choose the recording method that works best for your meeting type and setup. For detailed instructions on each recording method, see our recording guide.
In-person meetings
For office or face-to-face meetings, record directly into Claras through your web browser:
Click Live Recording in Claras.
Or record with your phone's voice memo app, and upload later using the Claras mobile app.
External Bluetooth mics improve audio quality in boardrooms or noisy spaces.
Virtual meetings
For remote client meetings, record using your preferred platform, then upload the recording.
Microsoft Teams:
Record the Teams meeting.
In Claras, click the upload icon next to Live Recording and select Microsoft Teams.
Select the recorded Teams meeting and click Done to import.
Zoom/Google Meet and others:
Record in the platform and save the recording to your computer.
In Claras, click the upload icon next to Live Recording and select Audio or video files.
Upload the audio or video file, and click Done.
Phone calls
For client conversations on mobile:
Use your phone's built-in recording feature.
Upload through the Claras mobile app.
Or use speaker mode and record with Claras Live Recording.
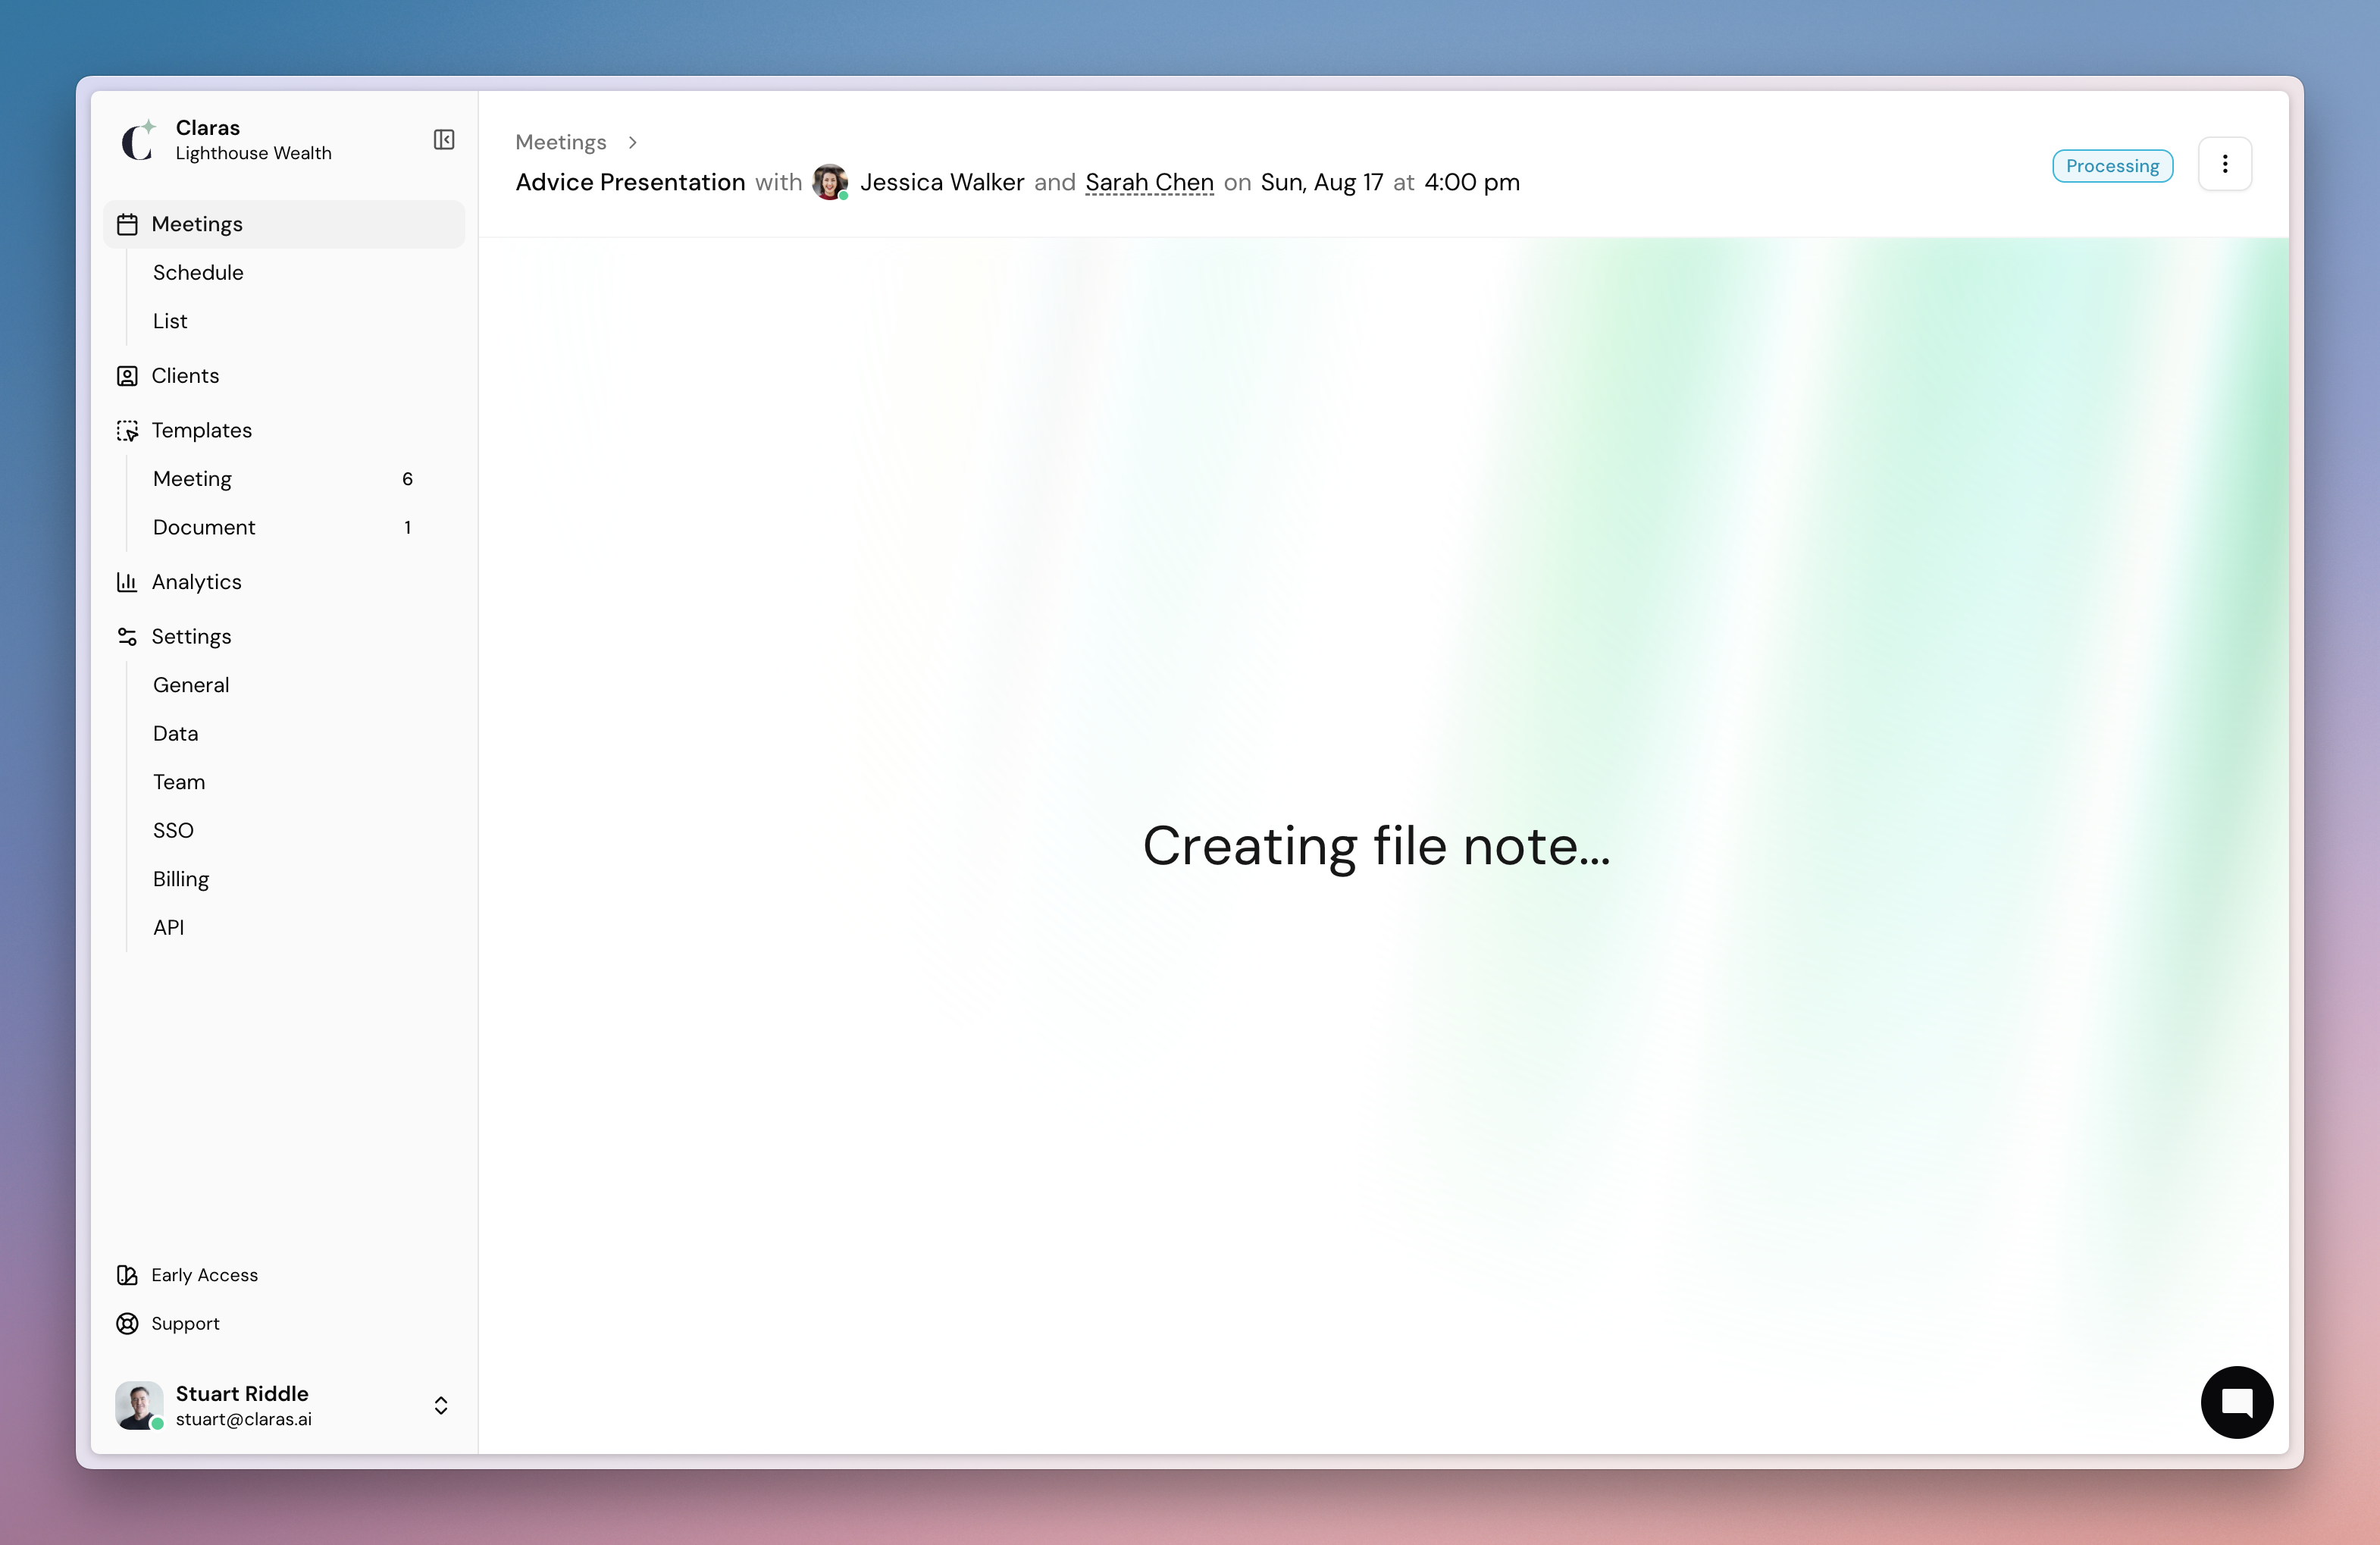
Create the file note
Once your recording has been uploaded to your meeting in Claras:
Set the number of participants (helps with speaker identification).
Click Start Processing to begin creating your file note.
Claras will process your recording in a few minutes and create:
A file note for review
A client email draft
A searchable transcript
Next
Review your file note and client email.
Last updated 5th June 2026 by Dusty