Create Advice Documents
The Document Creator combines your existing client files, file notes, Clarity+ insights, and practice details to generate advice documents. All client information is pulled directly from their profile, eliminating manual data entry.
This page covers:
Document types you can create.
The Template Library.
How to create a document.
Document types
Claras can create any kind of advice document. Here's some common ones:
Letter of Engagement – from a discovery file note and superannuation statement.
Paraplanner Request – from fact finds and product recommendations.
Reverse Fact Find – consolidated from file notes, emails and client PDF's.
Record of Advice (ROA) – from strategy meeting notes and supporting emails.
Annual Review – combine previous file notes and updated statements.
Fee Disclosure Statement (FDS) – from service history, engagement letter and fee details.
Statement of Advice (SOA) - draft an SOA from file notes, strategies and recommendations.
Presentation – generate a presentation from your documents and files to share with clients or your team.
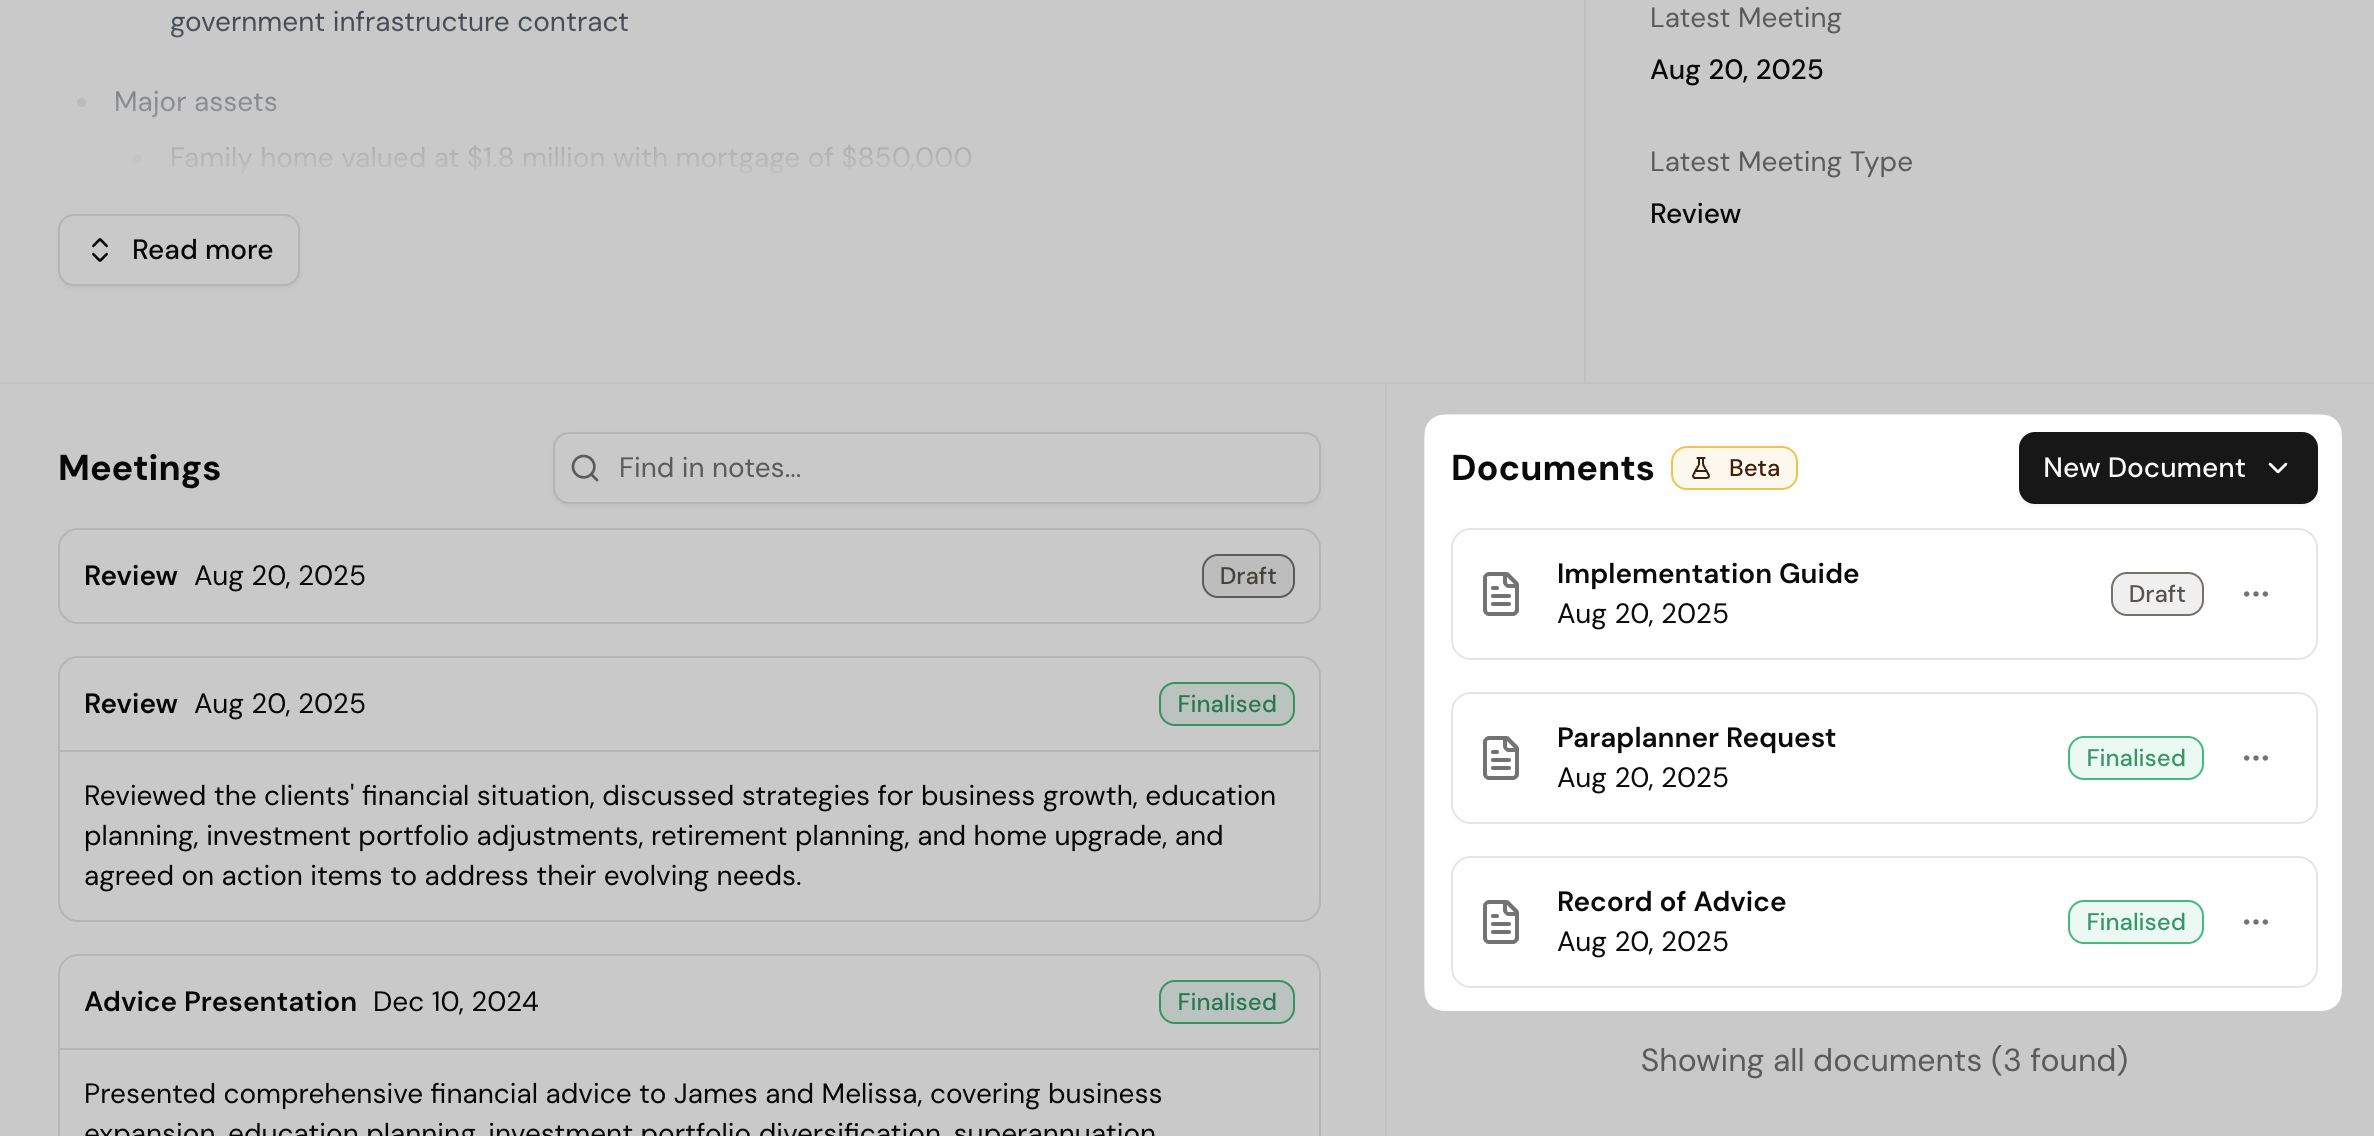
All documents are automatically saved to the client's profile for reference, creating a complete history of advice.
The Template Library
Claras includes a library of ready-to-use document templates, each designed to slot into a common point in the advice process. You can use these as they are, customise or create your own to match your practice standards.
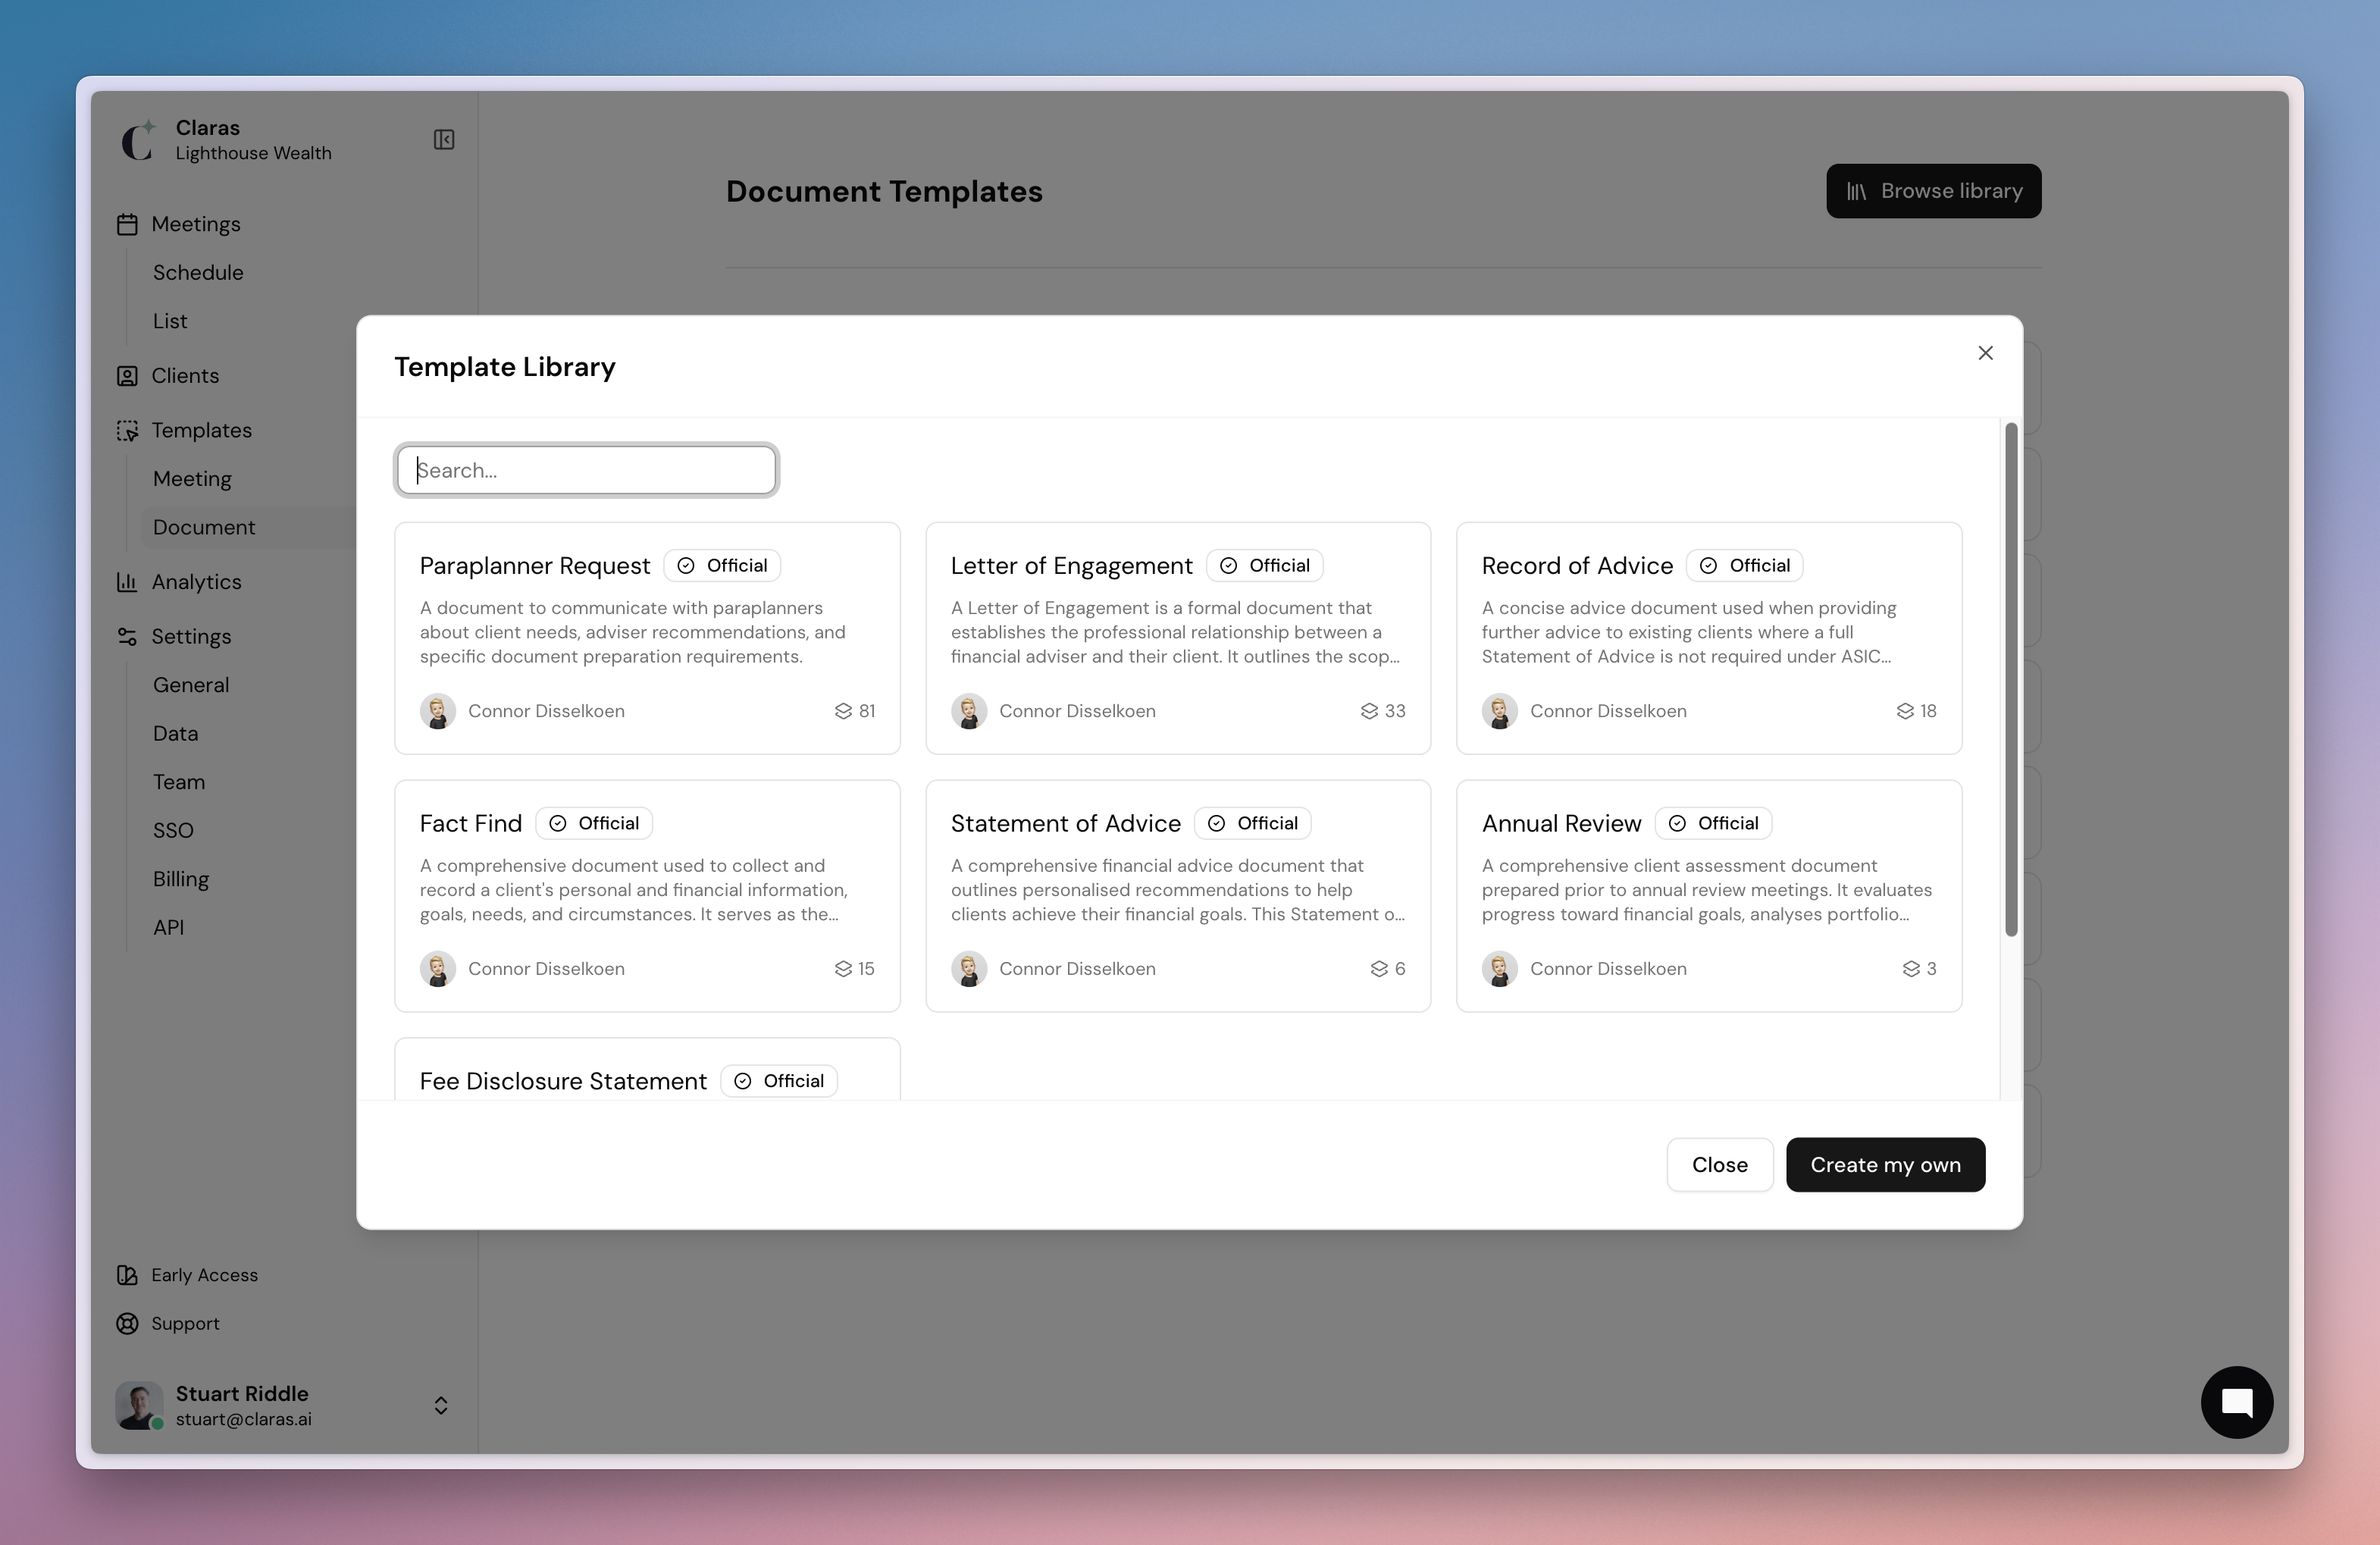
To use a document template:
Go to Templates → Document → Template Library.
Click into a template to preview it.
Click Use template to copy it to your account.
Click the template name to open it in the editor.
Make any needed changes.
Click Save changes to apply.
If your licensee has provided a code for their official template, paste that code into the search bar and the template will appear.
Create a document
Once you've copied a template to your account, you're ready to create documents. Let's use the example of a Paraplanner Request form.
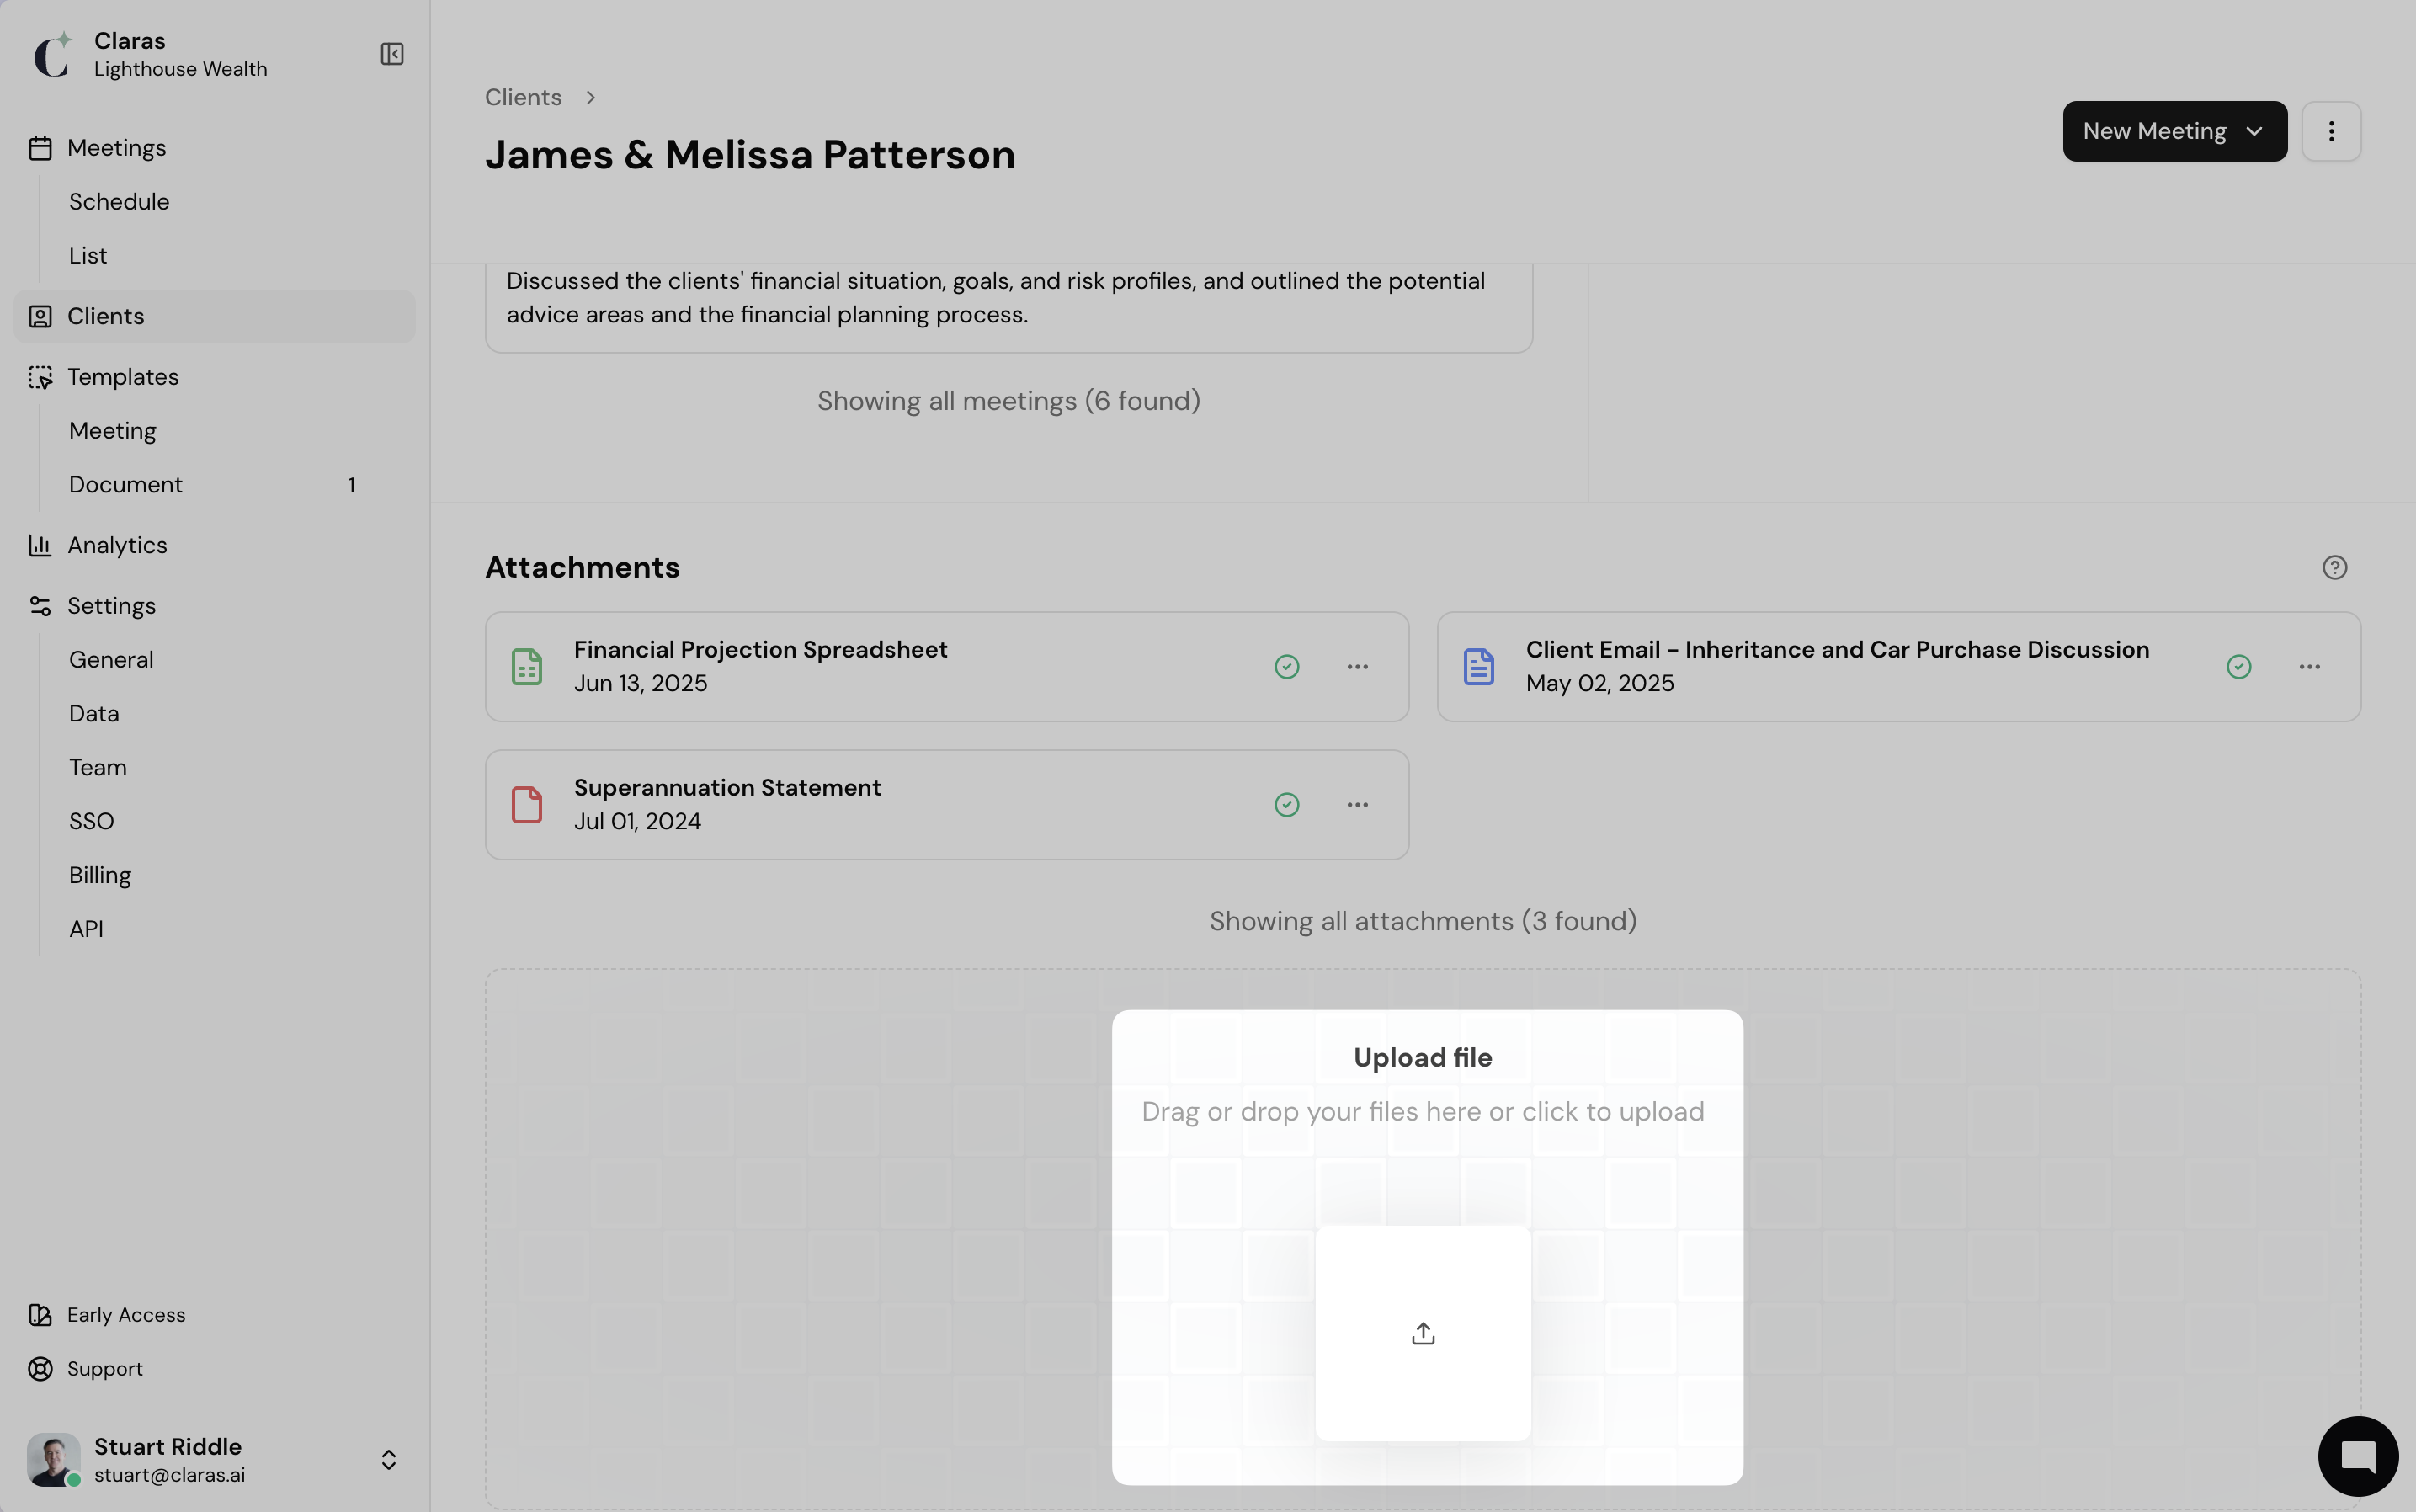
Prepare client data
Go to the Clients page and click into a client profile.
Upload relevant files as attachments (e.g. Product recommendations, strategies, insurance quotes). These files will be used as references when generating your document.
Claras will process the files and display a green tick once complete.
Create new document
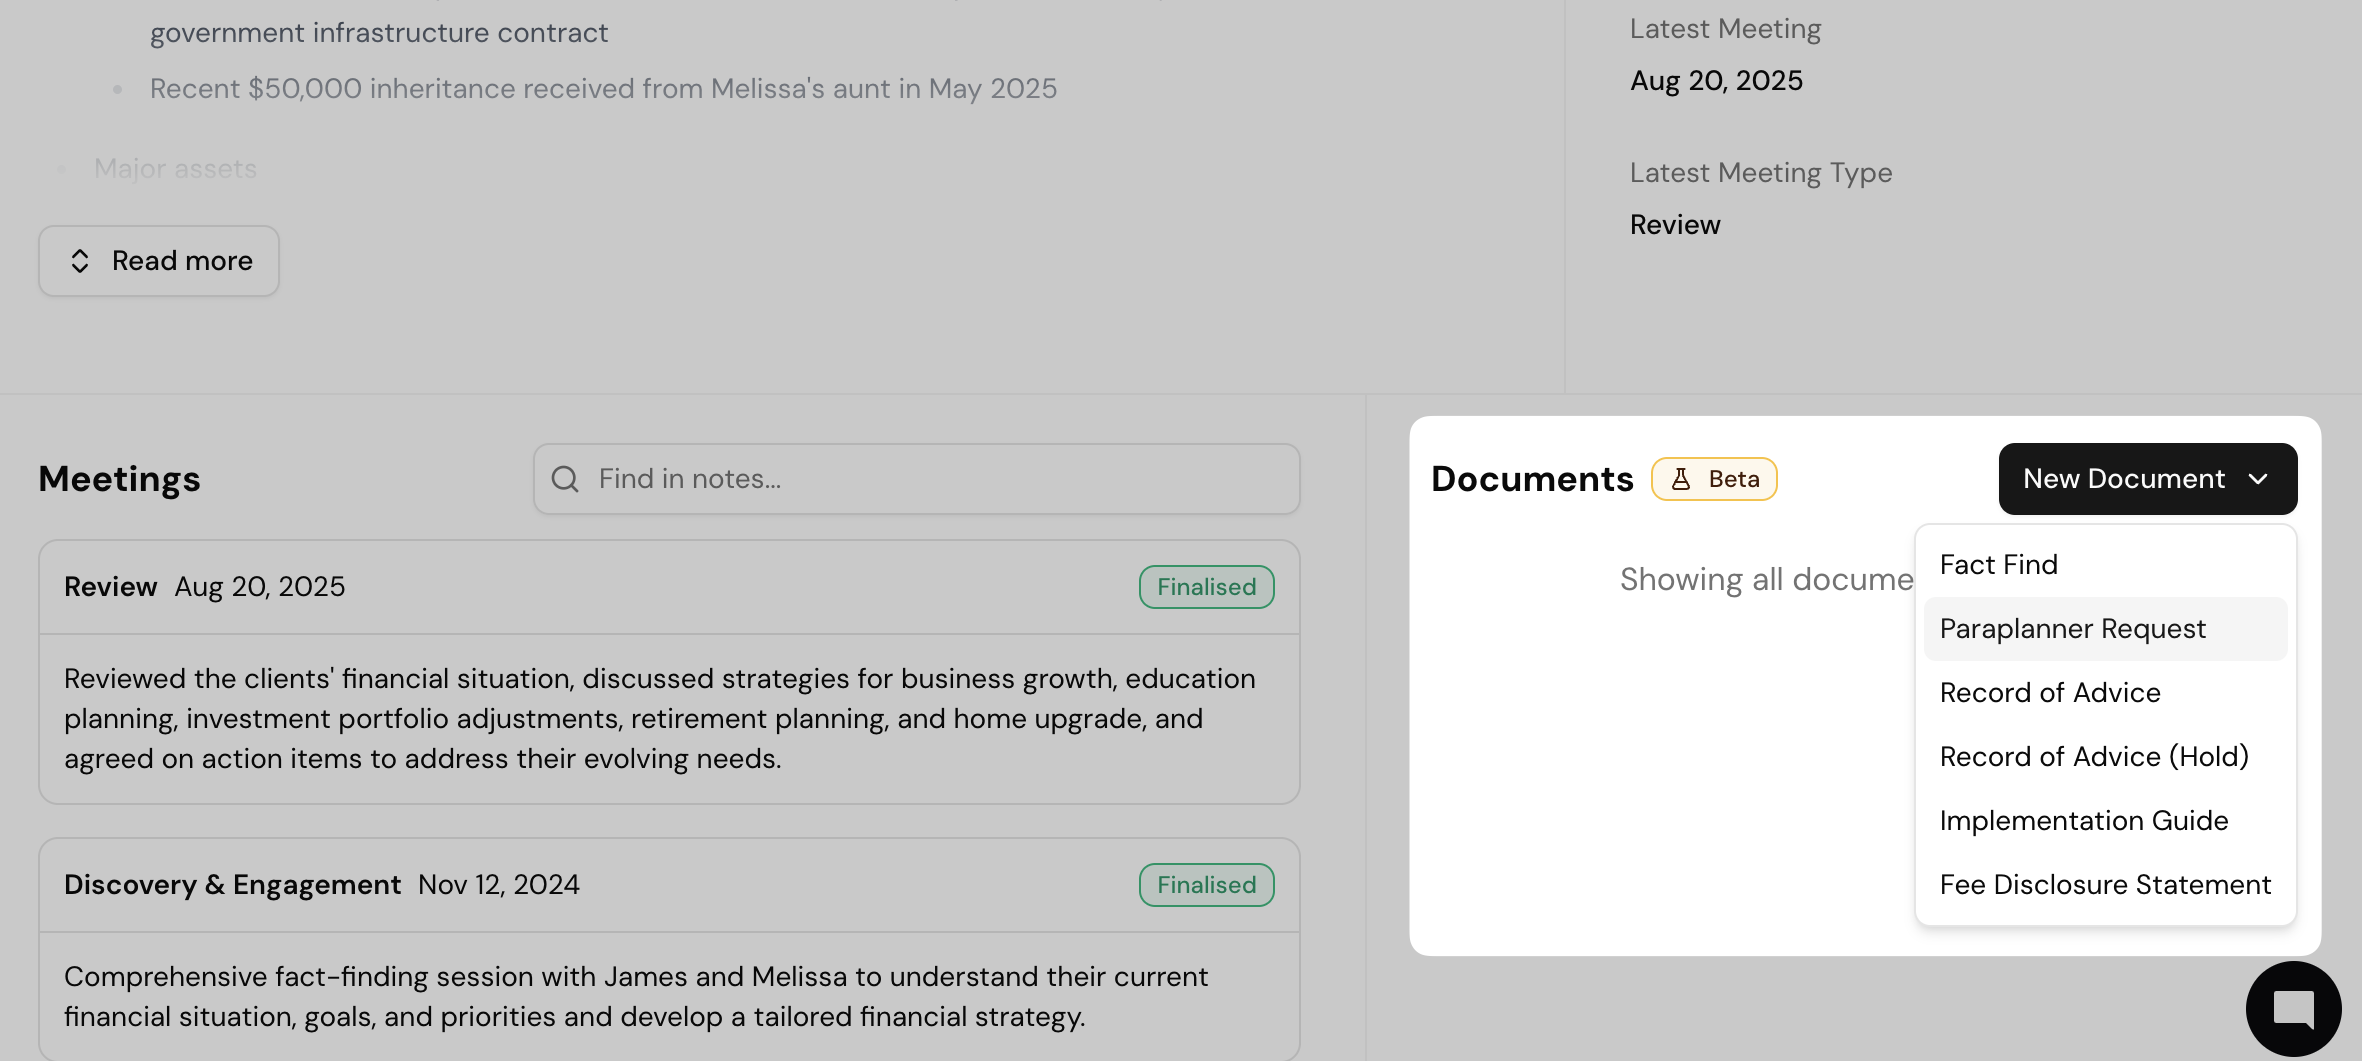
Click New Document.
Select the Paraplanner Request template.
Add Instructions
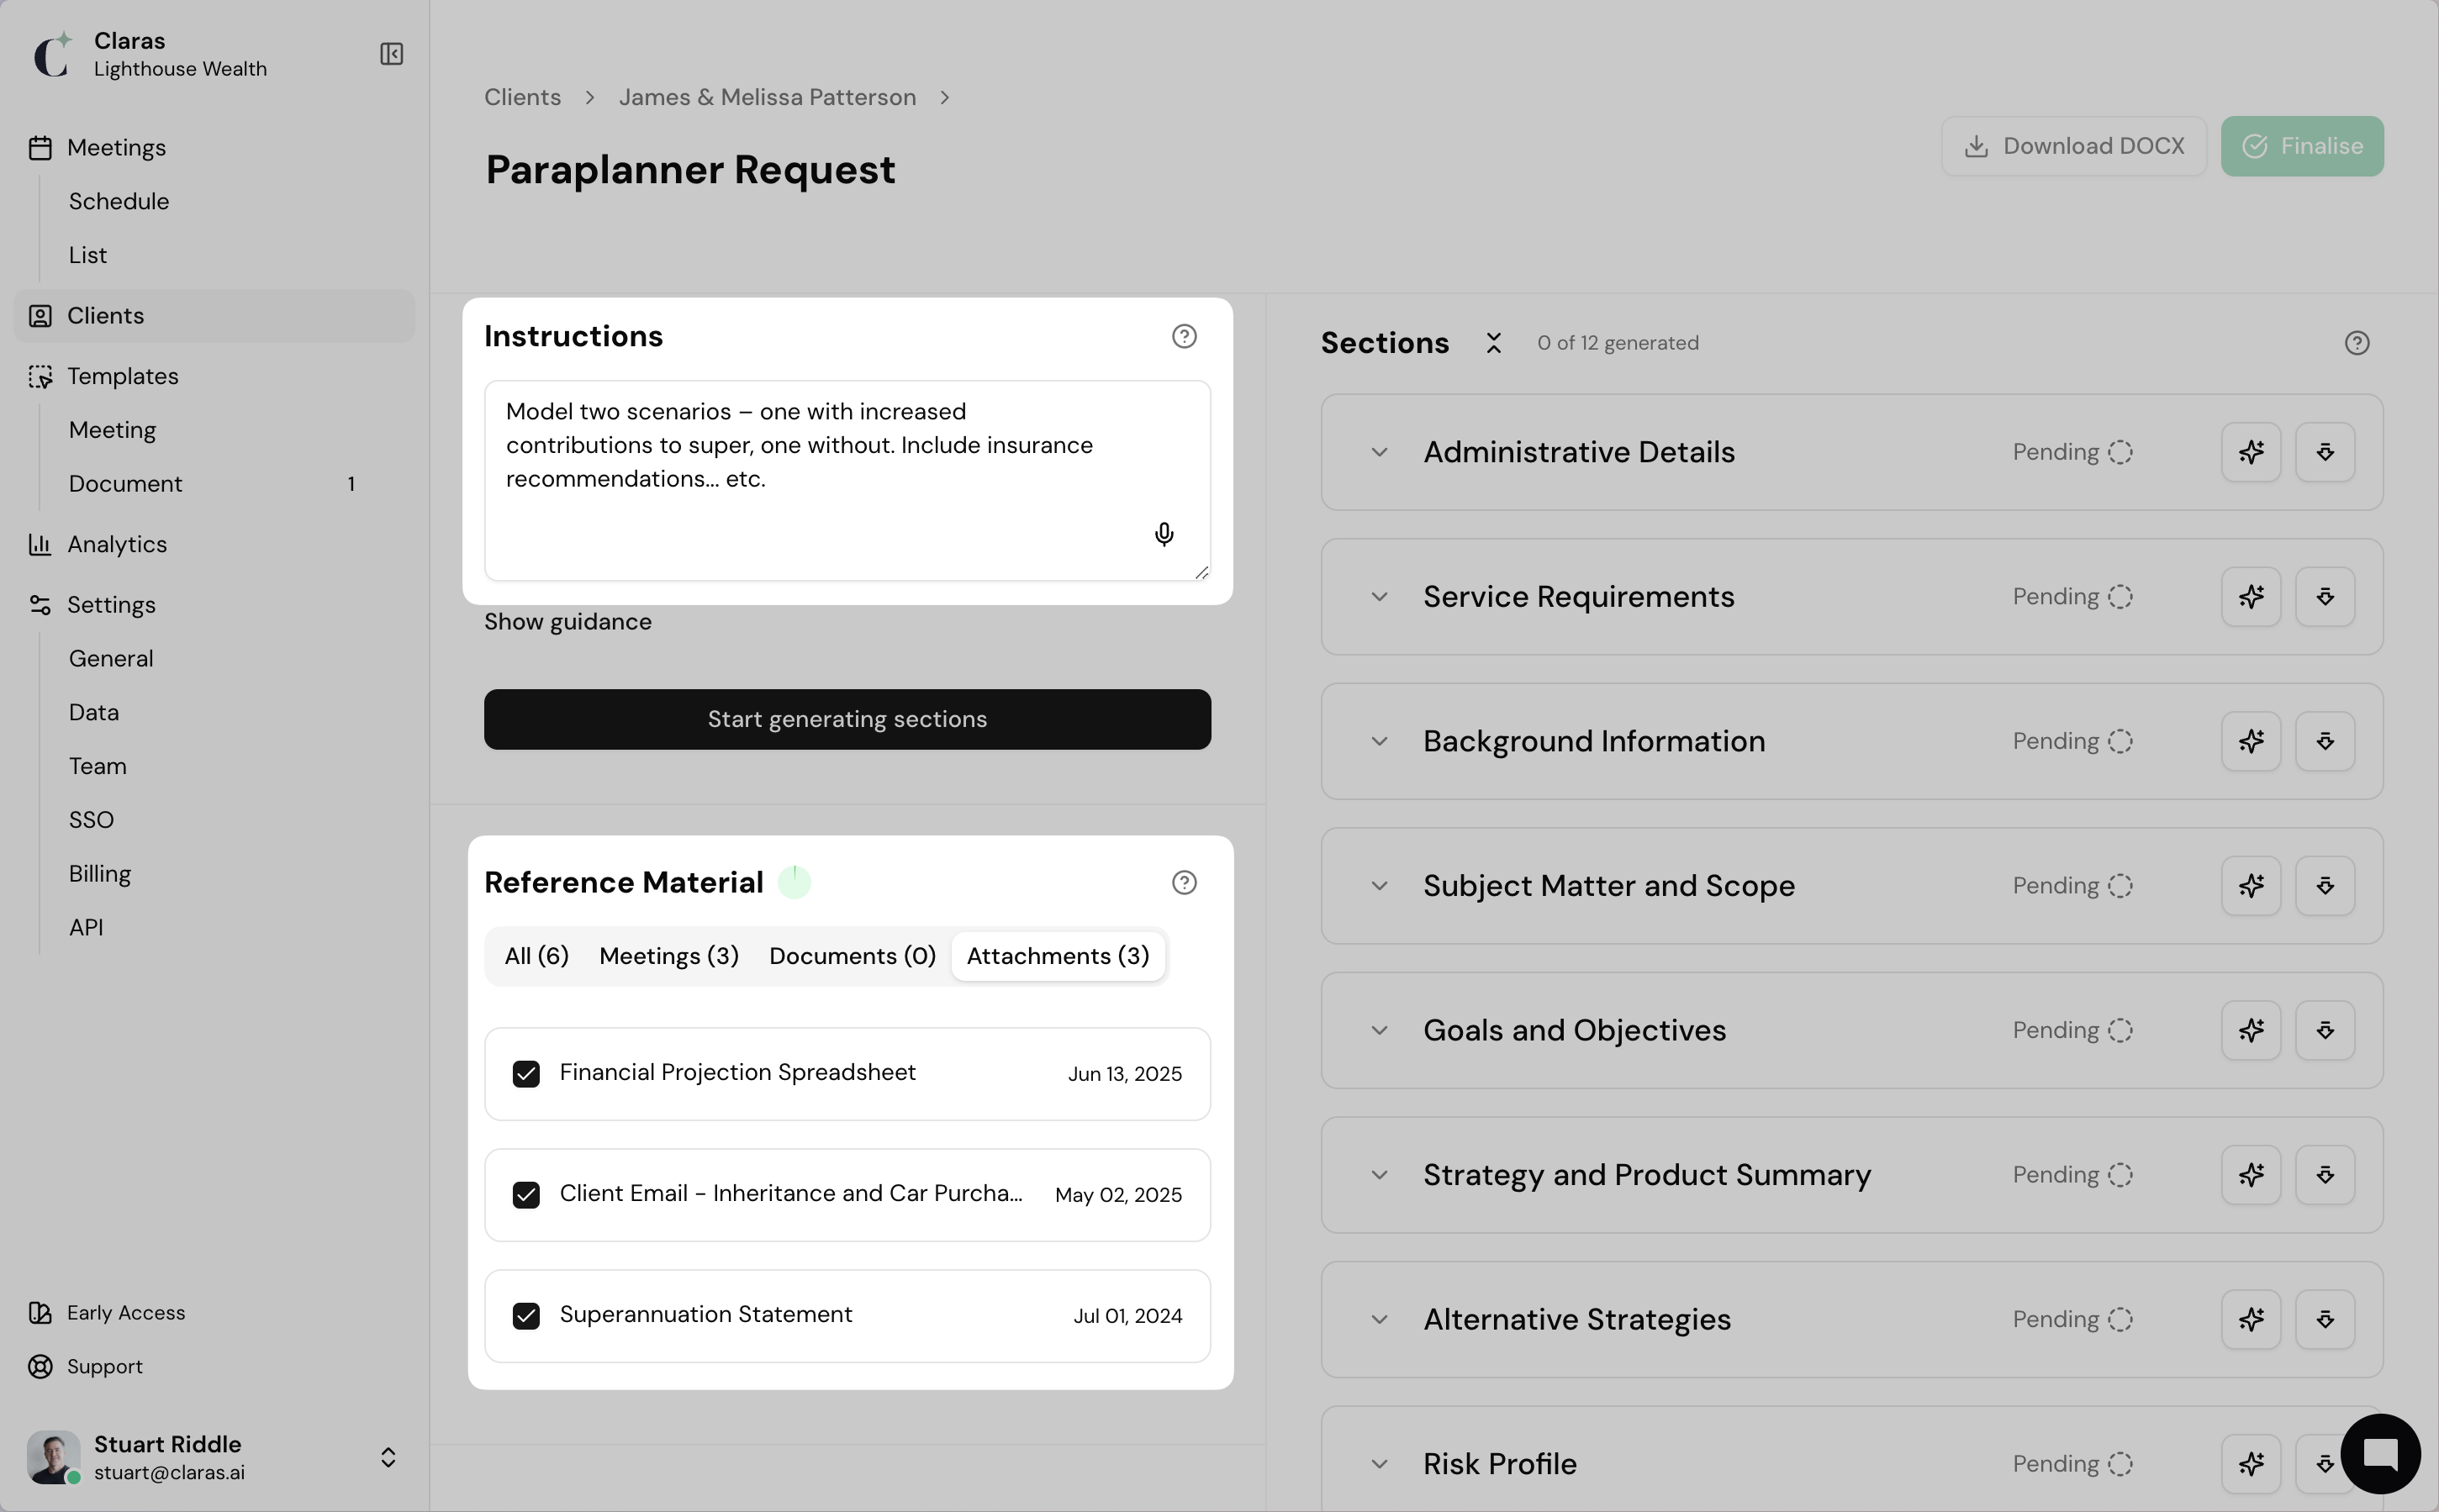
Use this optional field to dictate or type your guidance for Claras.
These notes help shape the document, so mention your strategies, product recommendations and timeframes.
Example: “SOA required by September 5. Model two scenarios – one with increased contributions to super, one without.”.
Reference material
Select the References you want Claras to use to create the document.
Include finalised meeting file notes, documents, and uploaded client attachments.
Tick or untick the options to control what’s included.
Claras will also use information from Clarity+, your practice profile, and any reference material uploaded to the Knowledge Base.
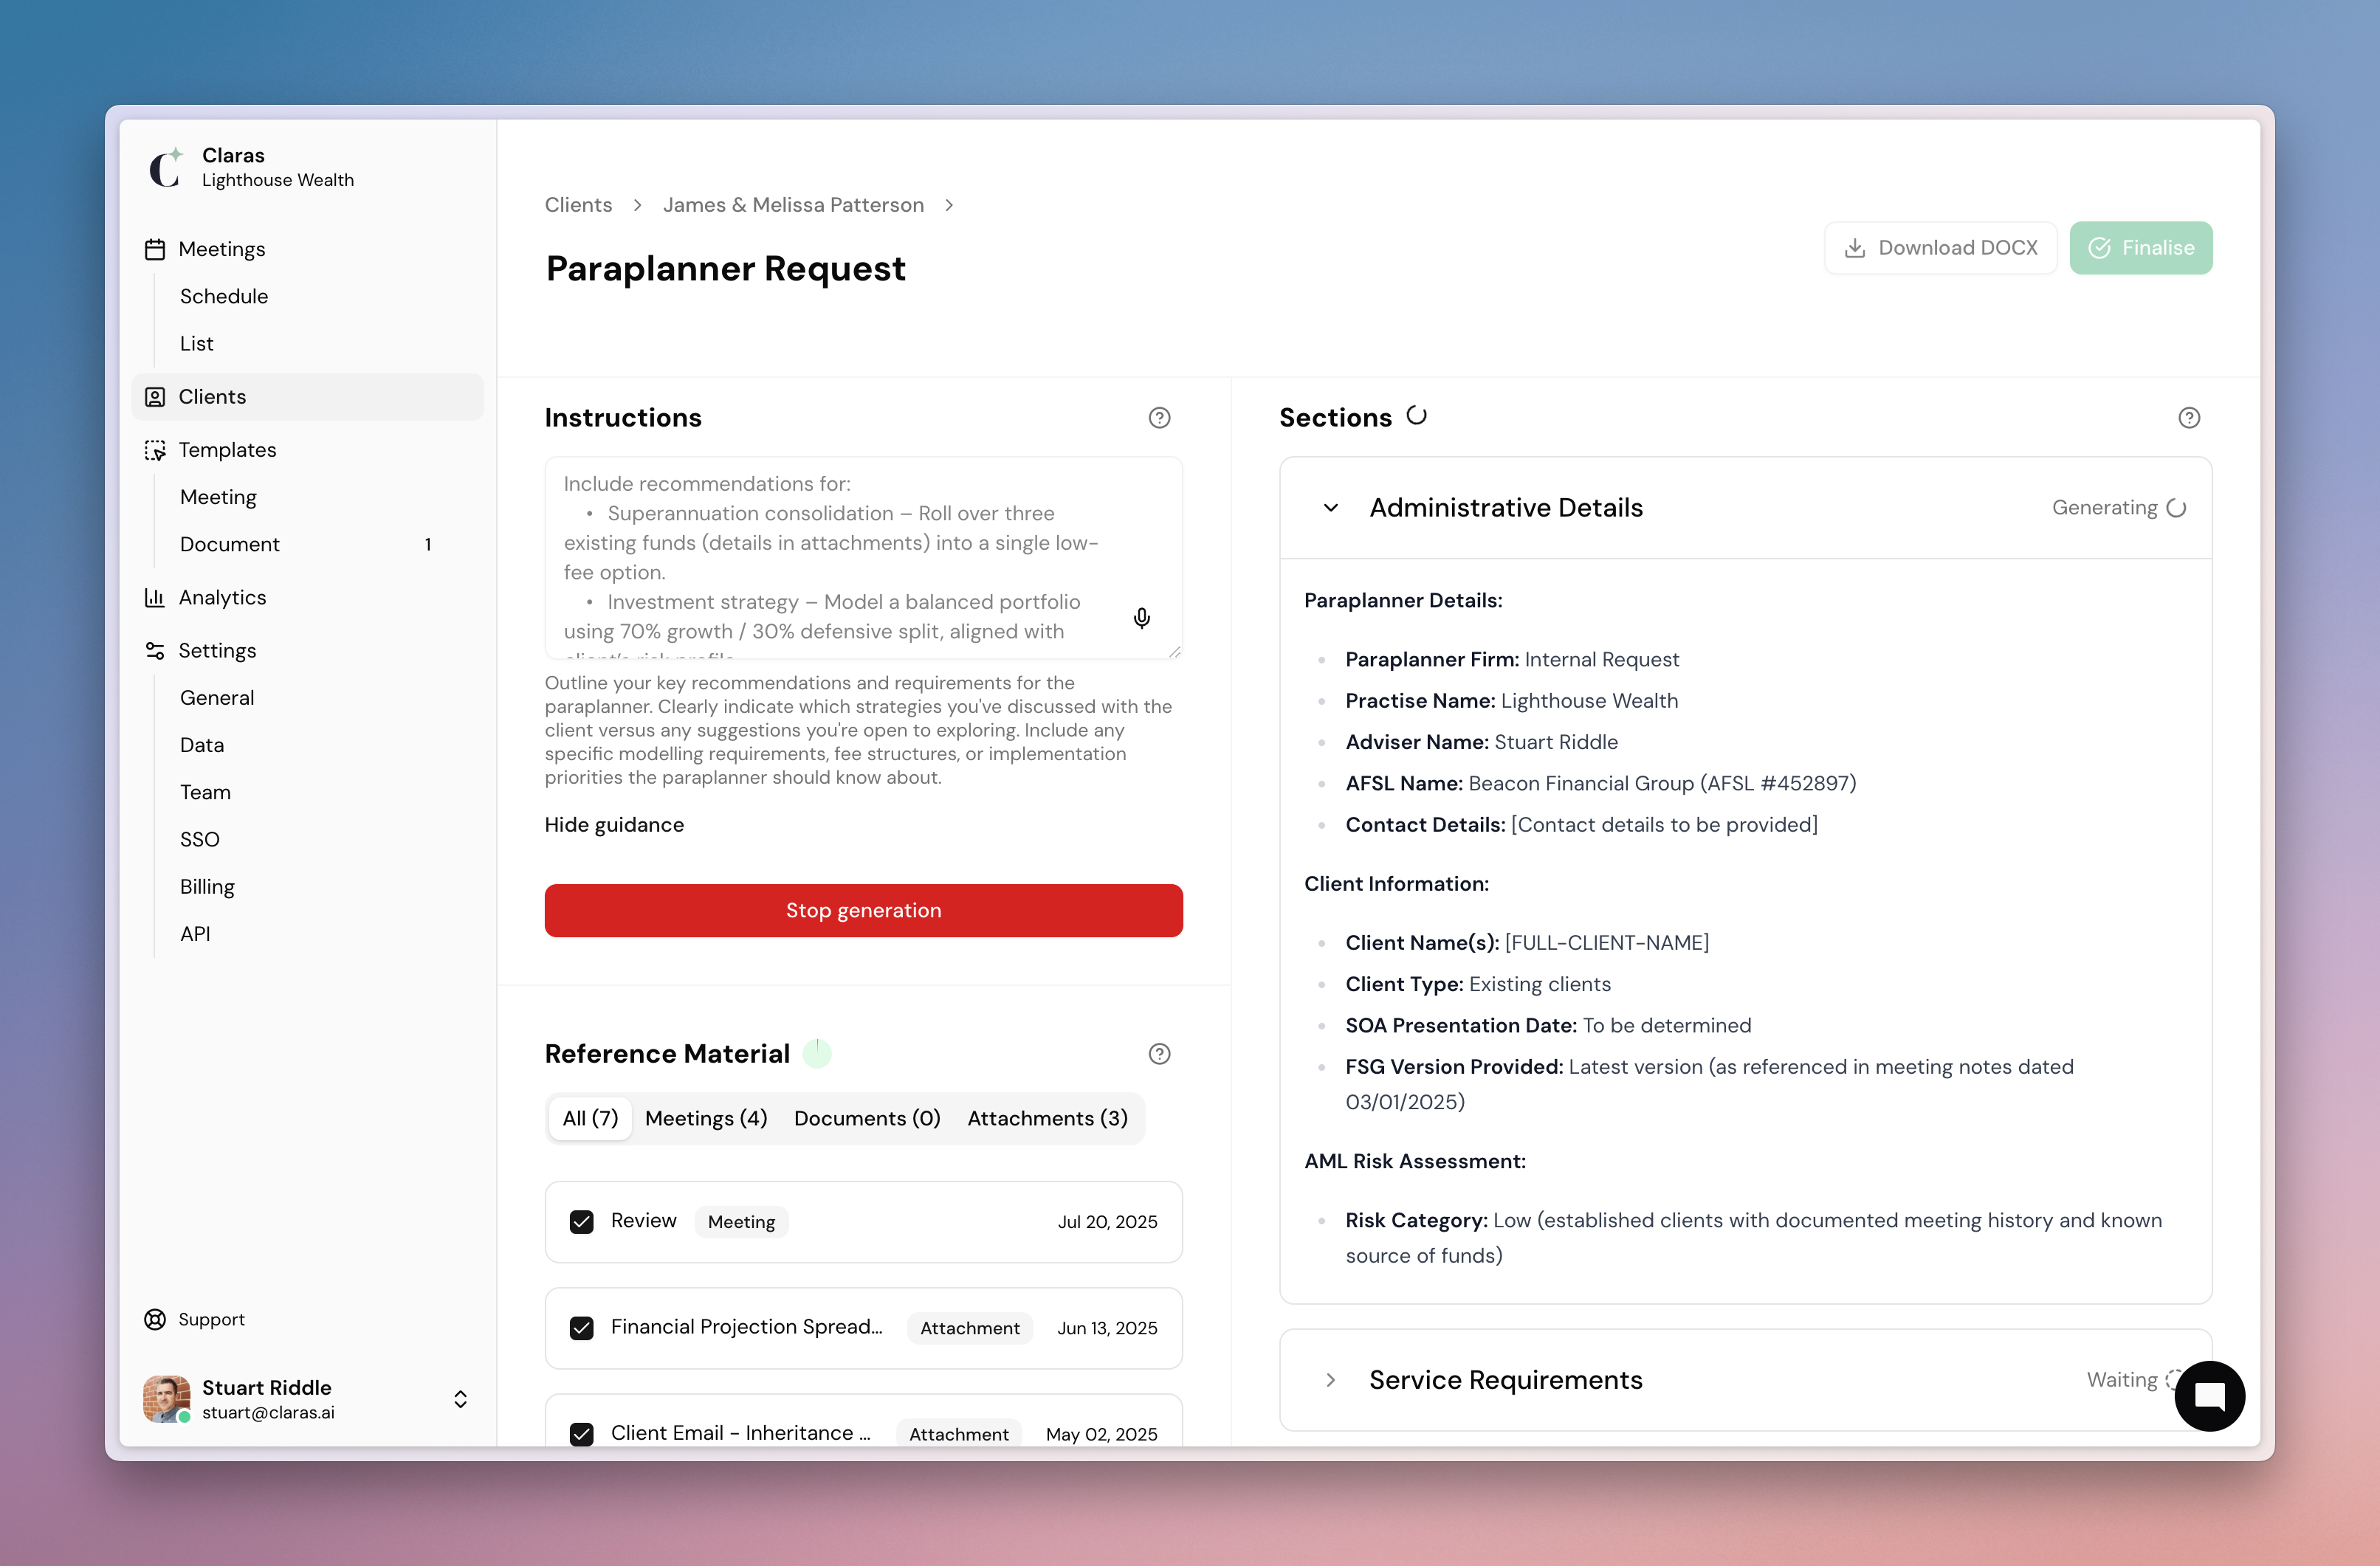
Generate the document
Click Start generating sections.
Claras will build each section of the document by extracting information from your reference material and combining it with your instructions.
Regenerate and refine sections
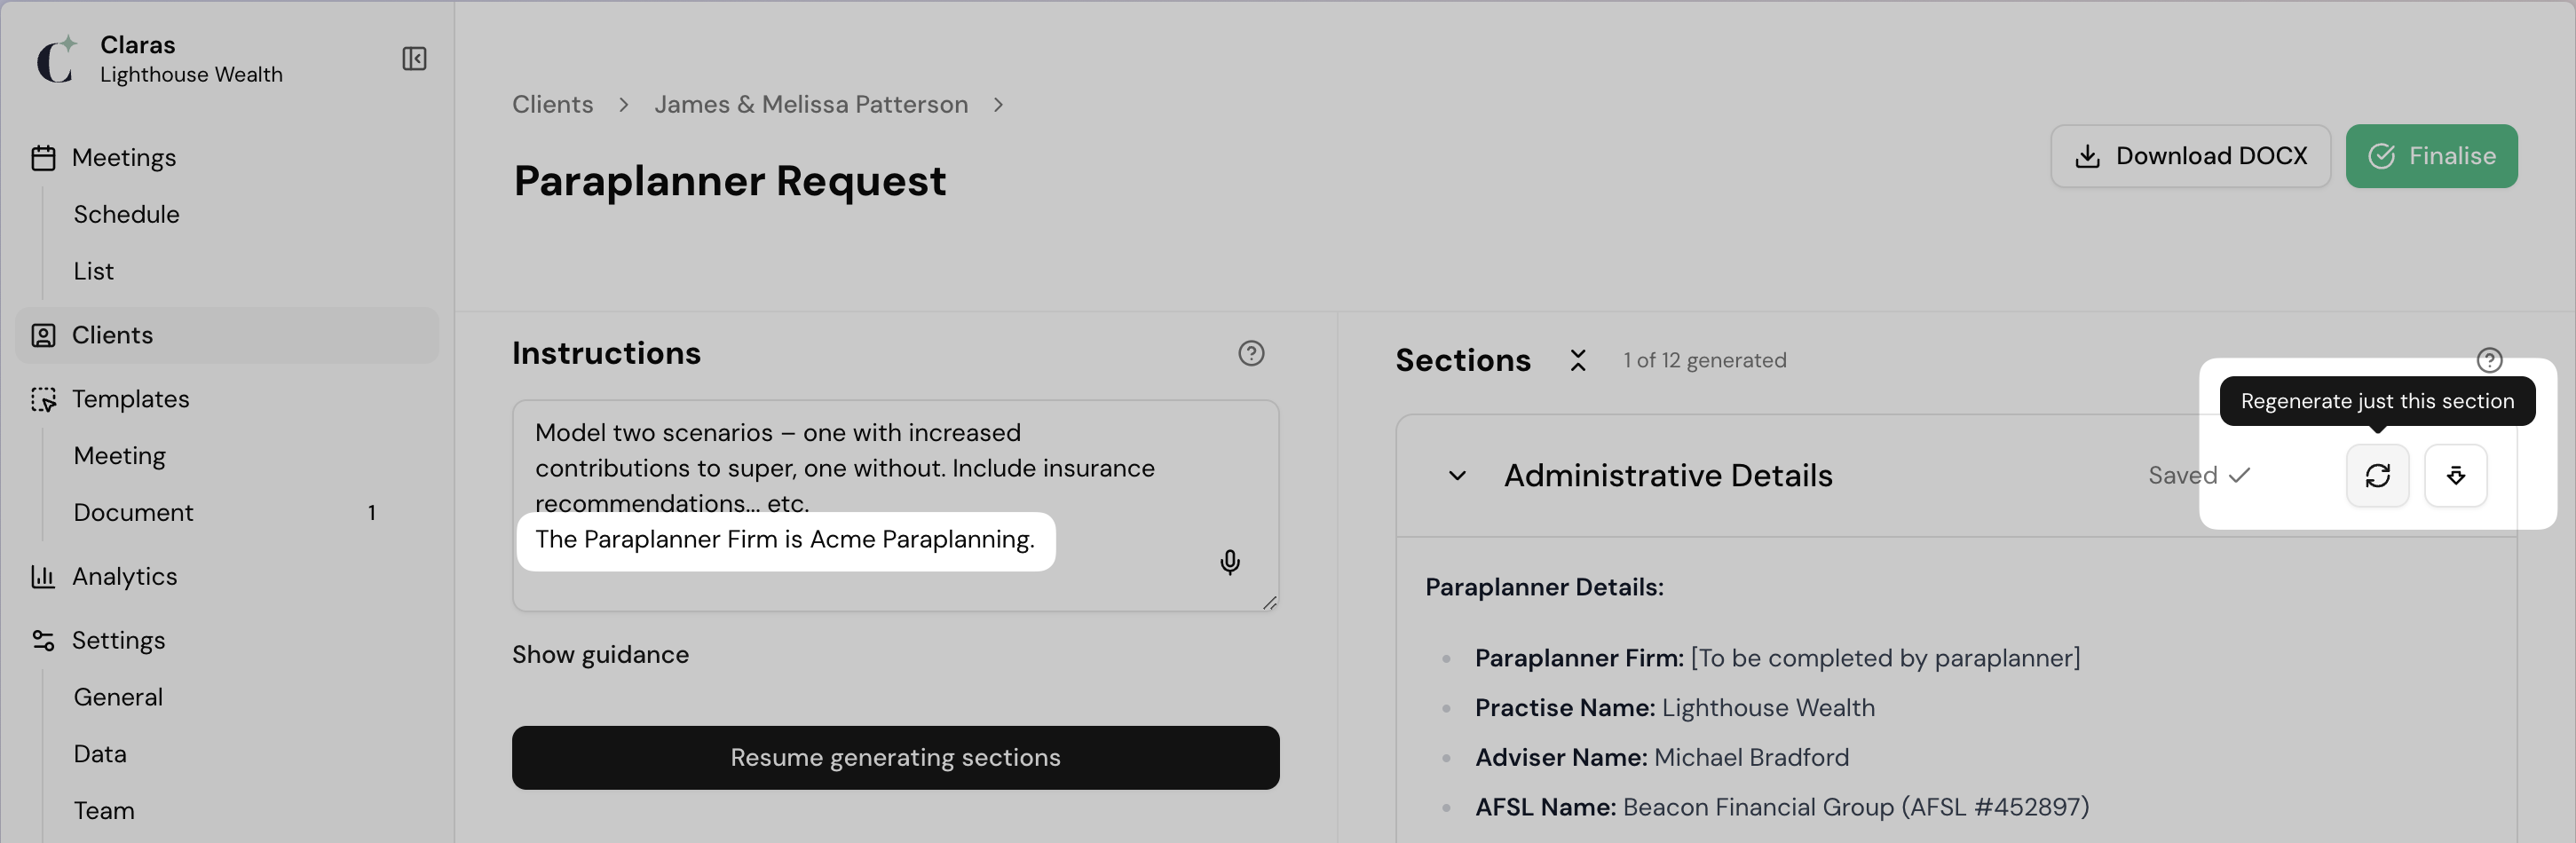
Stop document generation at any time to add more instructions.
Click the Regenerate just this section icon to update a single section, using the new instructions.
Click Resume generating sections to continue the process.
Finalise and export
When you’re ready, click Download DOCX to edit in Word and apply your branding.
Click Finalise to update Clarity+ and make the document available as a reference when creating other documents in Claras.
Where to next?
To make the most of documents in Claras, learn how to create your own document templates.
Last updated 9th April 2026 by Dusty